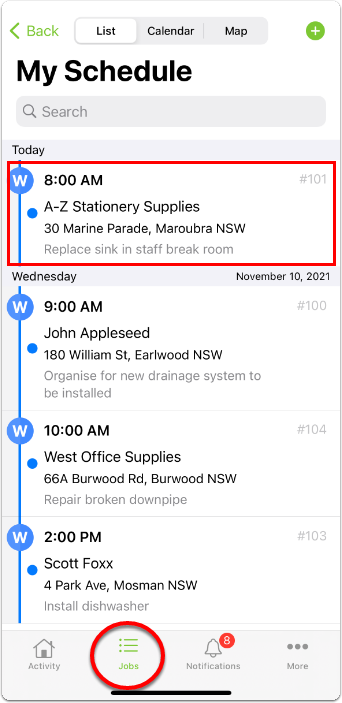
- From the Jobs view in the ServiceM8 App, tap the relevant job.
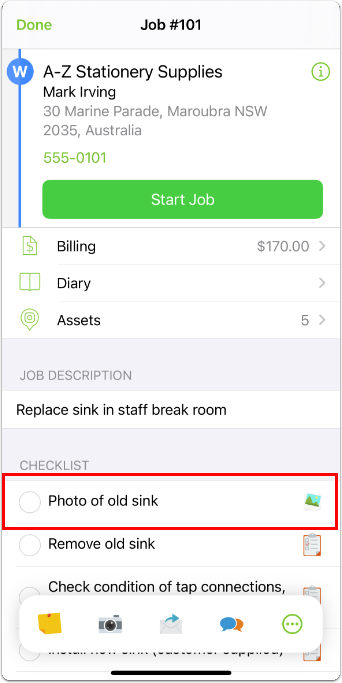
- If you are completing a checklist task with the word “photo” in it (for example, “Photo of old sink”), tap the task and go to step 4.
- If the photos are not part of a checklist, from the Job Actions bar, tap Camera.
- If Camera is not a one-tap icon on the Job Actions bar, tap More (…), then tap Camera.
- If you do not see Camera as an available action when you tap More (…), tap Edit Actions and add it. See this article for more information.
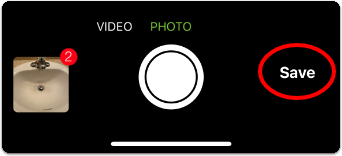
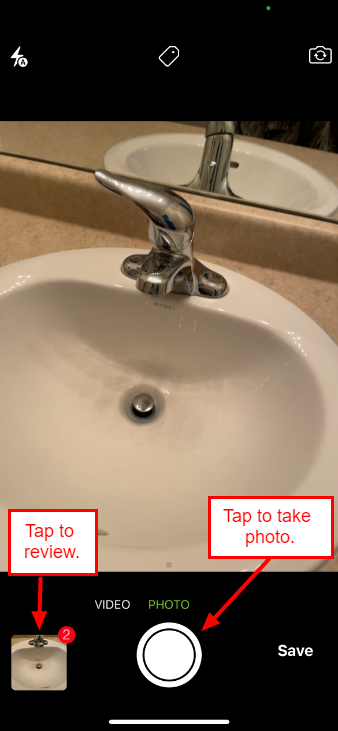
- Take one or more photos at once. Review photos by tapping the thumbnail.
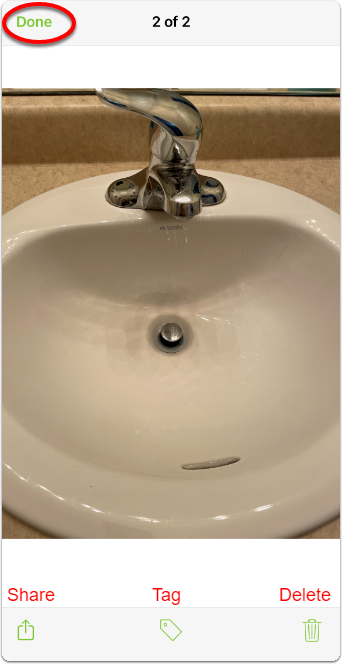
- Share, tag, or delete photos directly from the review pane. When you are satisfied with your photos, tap Done.
- Tap Save.