1. Create a new job.
From the ServiceM8 iOS mobile app, tap Jobs, then tap +.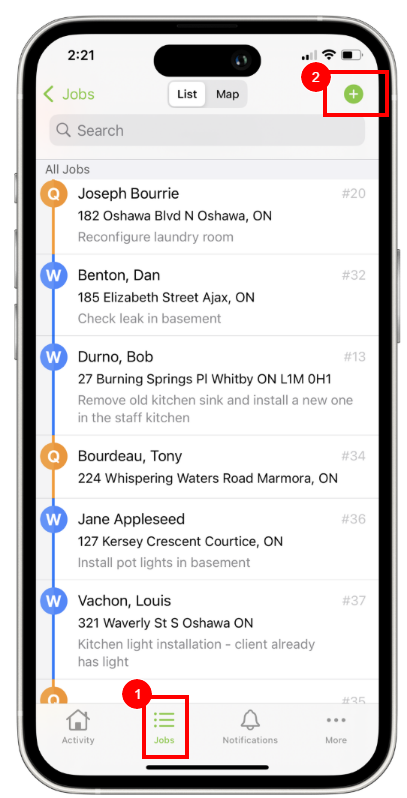

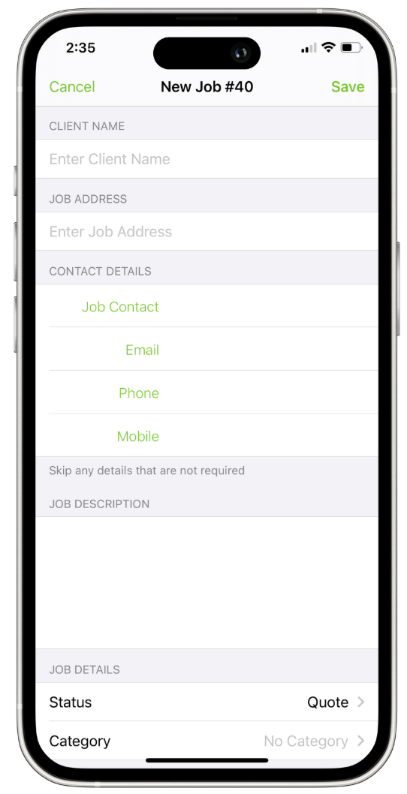
2. Complete the job card fields.
- Client Name: Use to search for existing customers, or to enter a new customer name. This can be an individual’s name (for example, the home owner), or a company name.
- Job Address: Enter the job address. If the customer is already in the system, the address will automatically populate. If you are creating a new customer, ServiceM8 will suggest addresses as you type.
- Contact Details: Enter the Job Contact information.
- Job Description: Enter the scope of work so that your team knows what needs to be done.
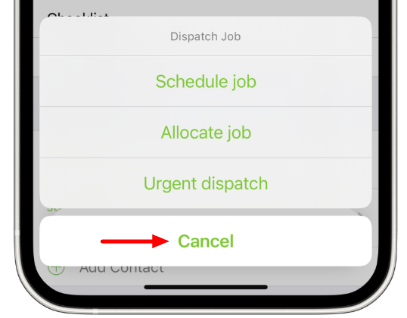
- Job Status: New jobs should start as a Quote (if the customer needs to see and accept a quote first) or Work Order (if the job’s confirmed to go straight ahead).
- Category (optional): This field lets you organize your jobs any way you’d like. Default categories are After-Hours, Standard, VIP, and Warranty, but you can customize categories to meet your needs.
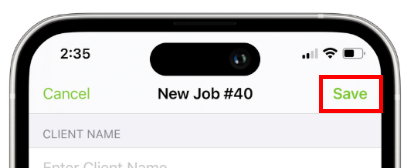
3. Tap Save.
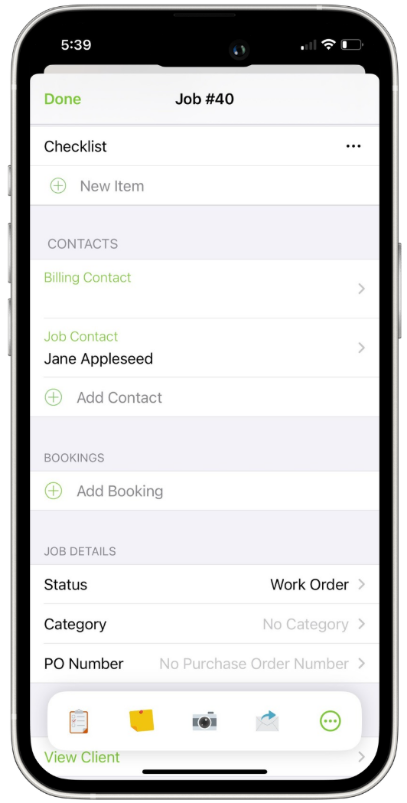
4. Complete any additional fields.
- Checklist (optional): To ensure a job is done properly, add a list job requirements or tasks for field technicians to check off in the app while onsite. Under Checklist, tap New Item to add a new task. If you include the word “Photo” in a checklist item, such as “Take a photo of the installation”, the camera in the app will automatically open when the technician taps the checklist item, then save the photo to the Job Diary.
- Billing Contact (optional): Complete if the job’s billing contact is different than the job contact (for example, if you are billing a landlord but the tenant is the job contact)
- PO Number (optional): Enter the customer’s purchase order information here, if applicable.
- Job Notes / Attachments (optional): Use the Job Actions bar at the bottom to add any notes about the job that don’t belong under the Job Description or Checklist fields.