Certain quote and invoice templates in ServiceM8 have built-in settings that allow you to add a brief Terms and Conditions statement in the footer. (For example, you could add a statement saying “Invoices must be paid within 7 days of services rendered.”) To learn more about selecting a new template and updating built-in template settings, see this article. However, if your needs are more complex, you may want to add an additional page to your template detailing your terms and conditions. To add a separate page for your terms and conditions:
  1. Download the invoice or quote that you want to modify. (To learn more about downloading a template, see this article.)
  2. Open the template in Microsoft Word.
Microsoft Word icon blank
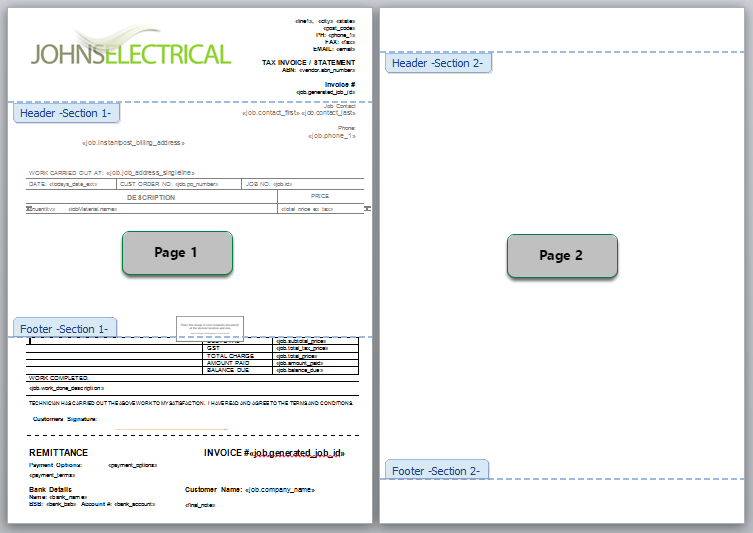
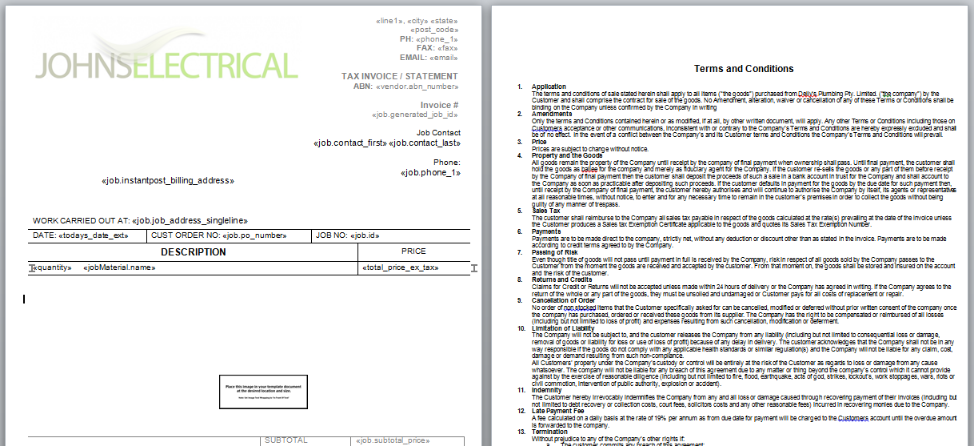
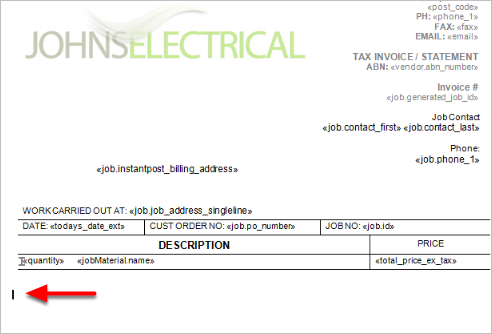
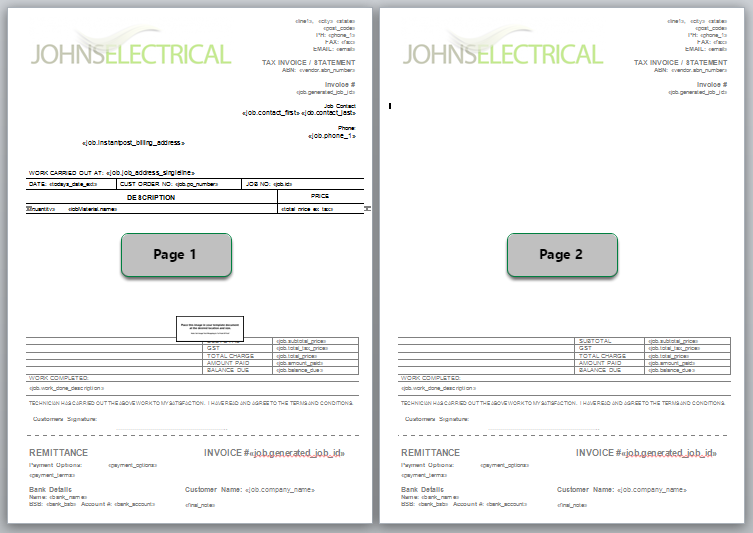
  1. In the body of the template, position your cursor where you want the new page to start. (This must be outside of the header and footer areas.)
click in body of template blank
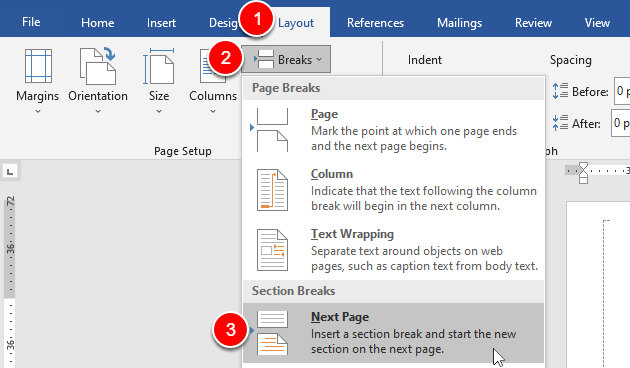
  1. Click Layout > Breaks > Next Page (under Section Breaks).
adding a new page section break blank You have now created a new page, but it has carried over the existing header and footer. example of blank page with header and footer blank To delete the content in the header and footer:
  1. Double-click in the header to open the Header and Footer Tools.
  2. Click Link to Previous. This will turn off the link between the sections, which allows you to delete the header and footer content from the new page without impacting the rest of the document.
link to previous blank
  1. Select and delete all content in the header.
selecting and deleting header content blank
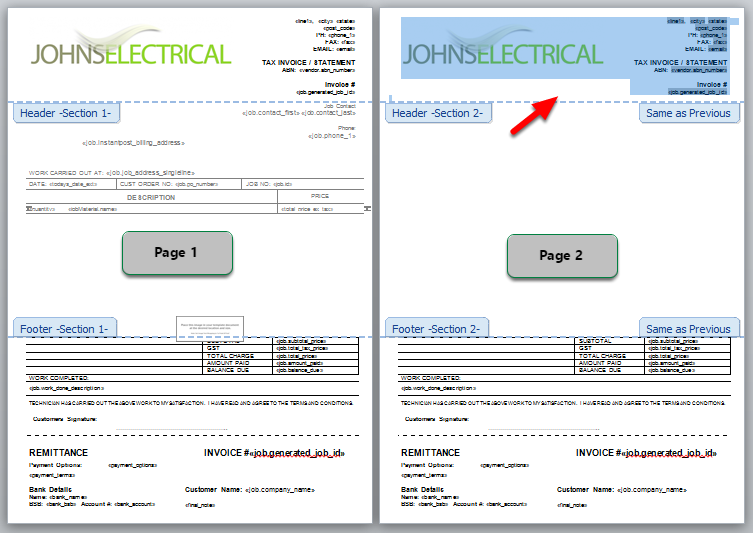
  1. Click Go to Footer and repeat the previous two steps.
go to footer blank
  1. Double-click in the body of the template to close the Header and Footer Tools.
blank second page blank You now have a blank second page of your template to which you can add your Terms and Conditions information. sample terms and conditions page blank Once you’ve added your terms and conditions, save your document and upload it to ServiceM8. (For more information about uploading templates, see this article.)
Last modified on February 10, 2026