First, update your invoice templates
To be able to change the invoice date on jobs, you must ensure all your invoice template/s contain one of the “invoice date” merge fields (introduced September 2022):- job.invoice_date
- job.invoice_date_extended
How to update your invoice templates
OPTION 1 — Update your standard template: ServiceM8’s range of standard invoice templates have been updated with the new “invoice date” merge fields, so if you are using a standard template, you can go to Settings > Document Templates, and choose a new standard template by browsing then clicking ‘Use this template’.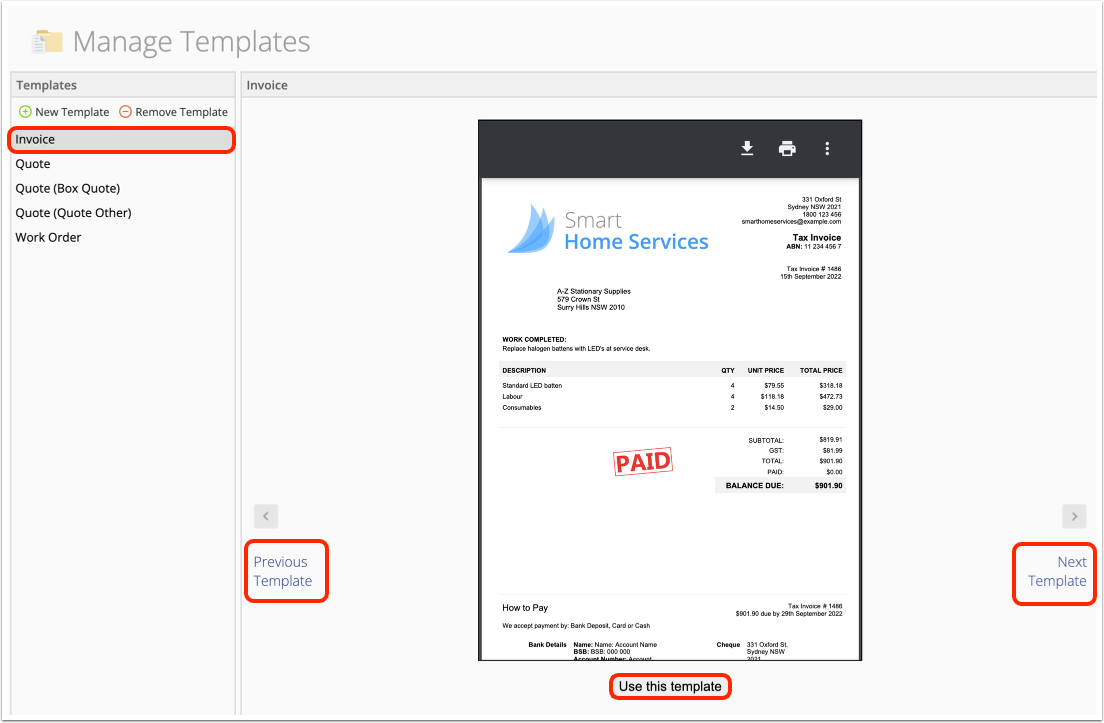 OPTION 2 — Edit your existing templates: if you have custom invoice templates and Microsoft Word, you can download and update your invoice templates with one of the “invoice date” merge fields, then re-upload them back into ServiceM8. Please see this help article on How to modify invoice or quote templates. Note that the merge field required is job.invoice_date or job.invoice_date_extended
OPTION 3 — Contact ServiceM8 Support: if you have custom templates but you’re not familiar with merge fields, please contact our team at support@servicem8.com and we can help make this minor change to your invoice templates. Please include your templates as attachments to your email request — see the first part of this help article on how to download an invoice template, then later in the article for how to re-upload once they’re ready.
OPTION 4 — Contact your ServiceM8 Partner
OPTION 2 — Edit your existing templates: if you have custom invoice templates and Microsoft Word, you can download and update your invoice templates with one of the “invoice date” merge fields, then re-upload them back into ServiceM8. Please see this help article on How to modify invoice or quote templates. Note that the merge field required is job.invoice_date or job.invoice_date_extended
OPTION 3 — Contact ServiceM8 Support: if you have custom templates but you’re not familiar with merge fields, please contact our team at support@servicem8.com and we can help make this minor change to your invoice templates. Please include your templates as attachments to your email request — see the first part of this help article on how to download an invoice template, then later in the article for how to re-upload once they’re ready.
OPTION 4 — Contact your ServiceM8 Partner
How to Change Invoice Date (in the Legacy Job Card)
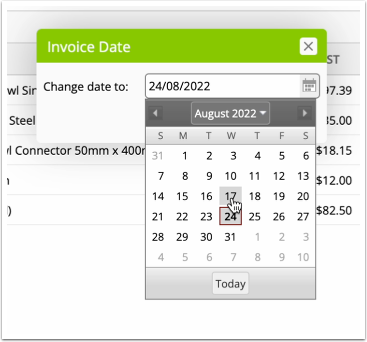
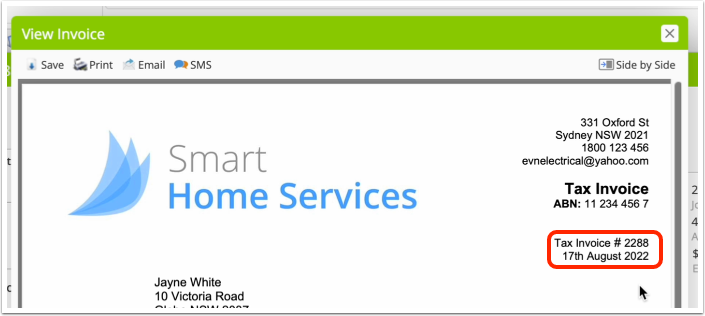
An invoice’s date can only be changed via its job card, in the Online Dashboard. To do so, click the drop-down to the side of the ‘Produce Invoice’ button, then ‘Change Invoice Date’.
How to Change Invoice Date (in the Enhanced Job Card)
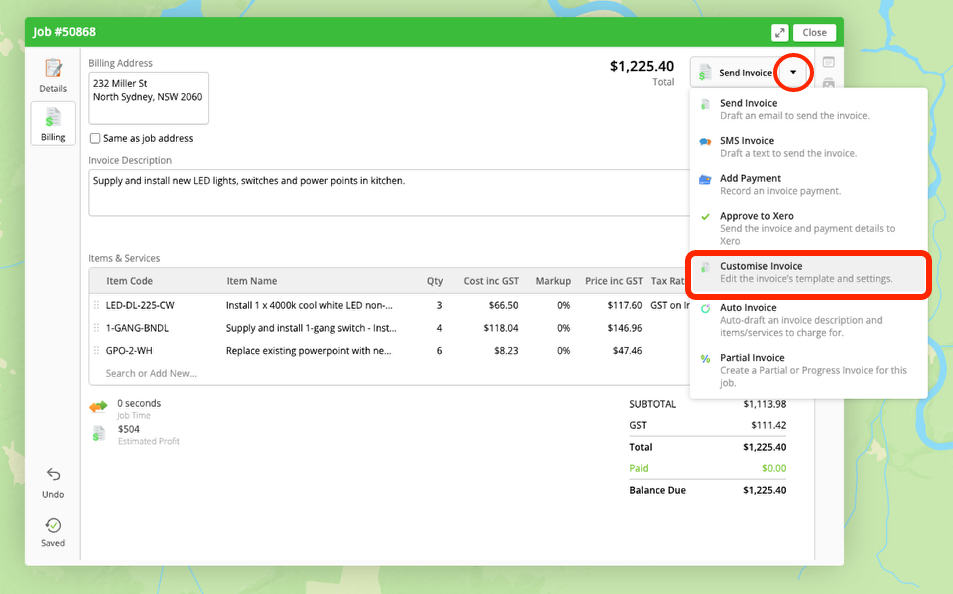
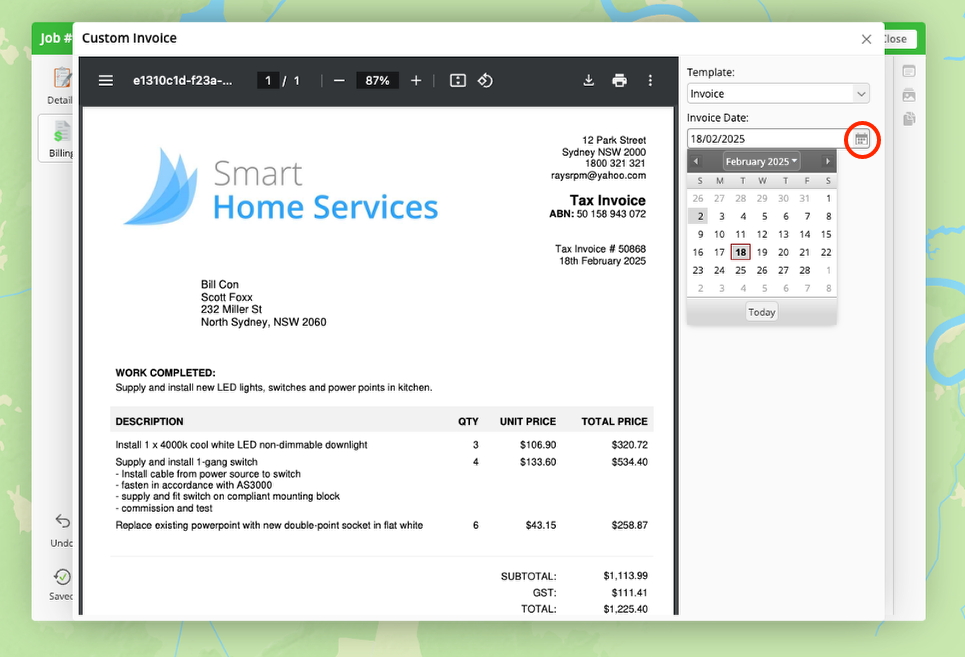
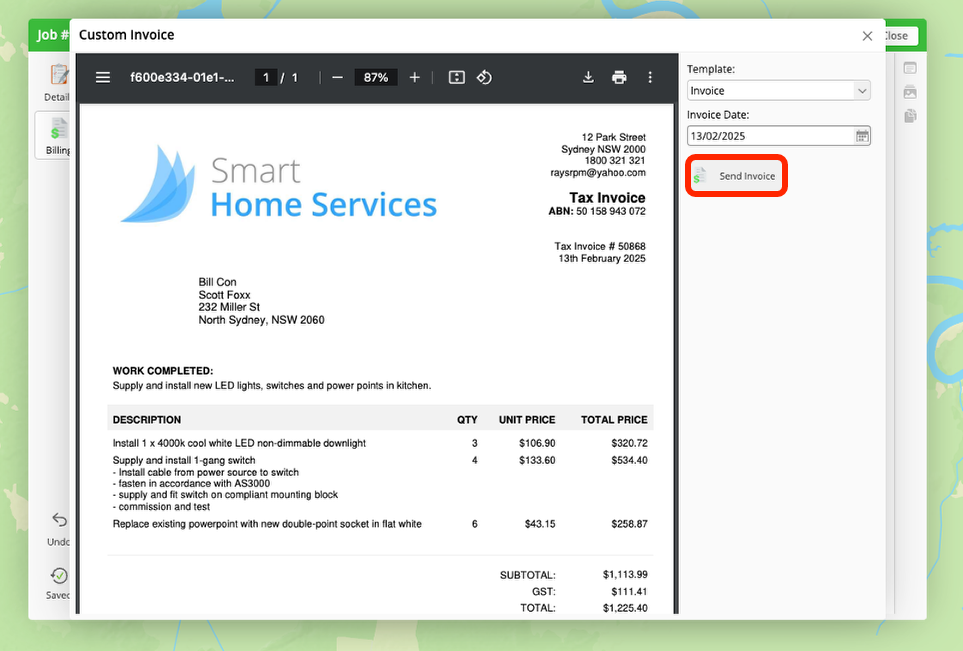
An invoice’s date can only be changed via its job card, in the Online Dashboard. To do so in the Enhanced Job Card, go to the Billing tab, and in the top-right corner, click the drop-down arrow, then “Customise Invoice” and you’ll find an option here to change the invoice date: