

Website and Email
How to send ServiceM8 emails from your existing domain
Set up your business domain for sending quotes, invoices and job notifications while keeping your existing inbox and website.
Use an email address on a domain you own to send quotes, invoices and job notifications from ServiceM8. Your existing inbox, email provider, website and domain registration stay in place.
Before you start
- A Business Owner must activate the setup using an active ServiceM8 subscription that supports paid add-ons.
- You need access to the DNS settings for your domain.
Set up your sending address
-
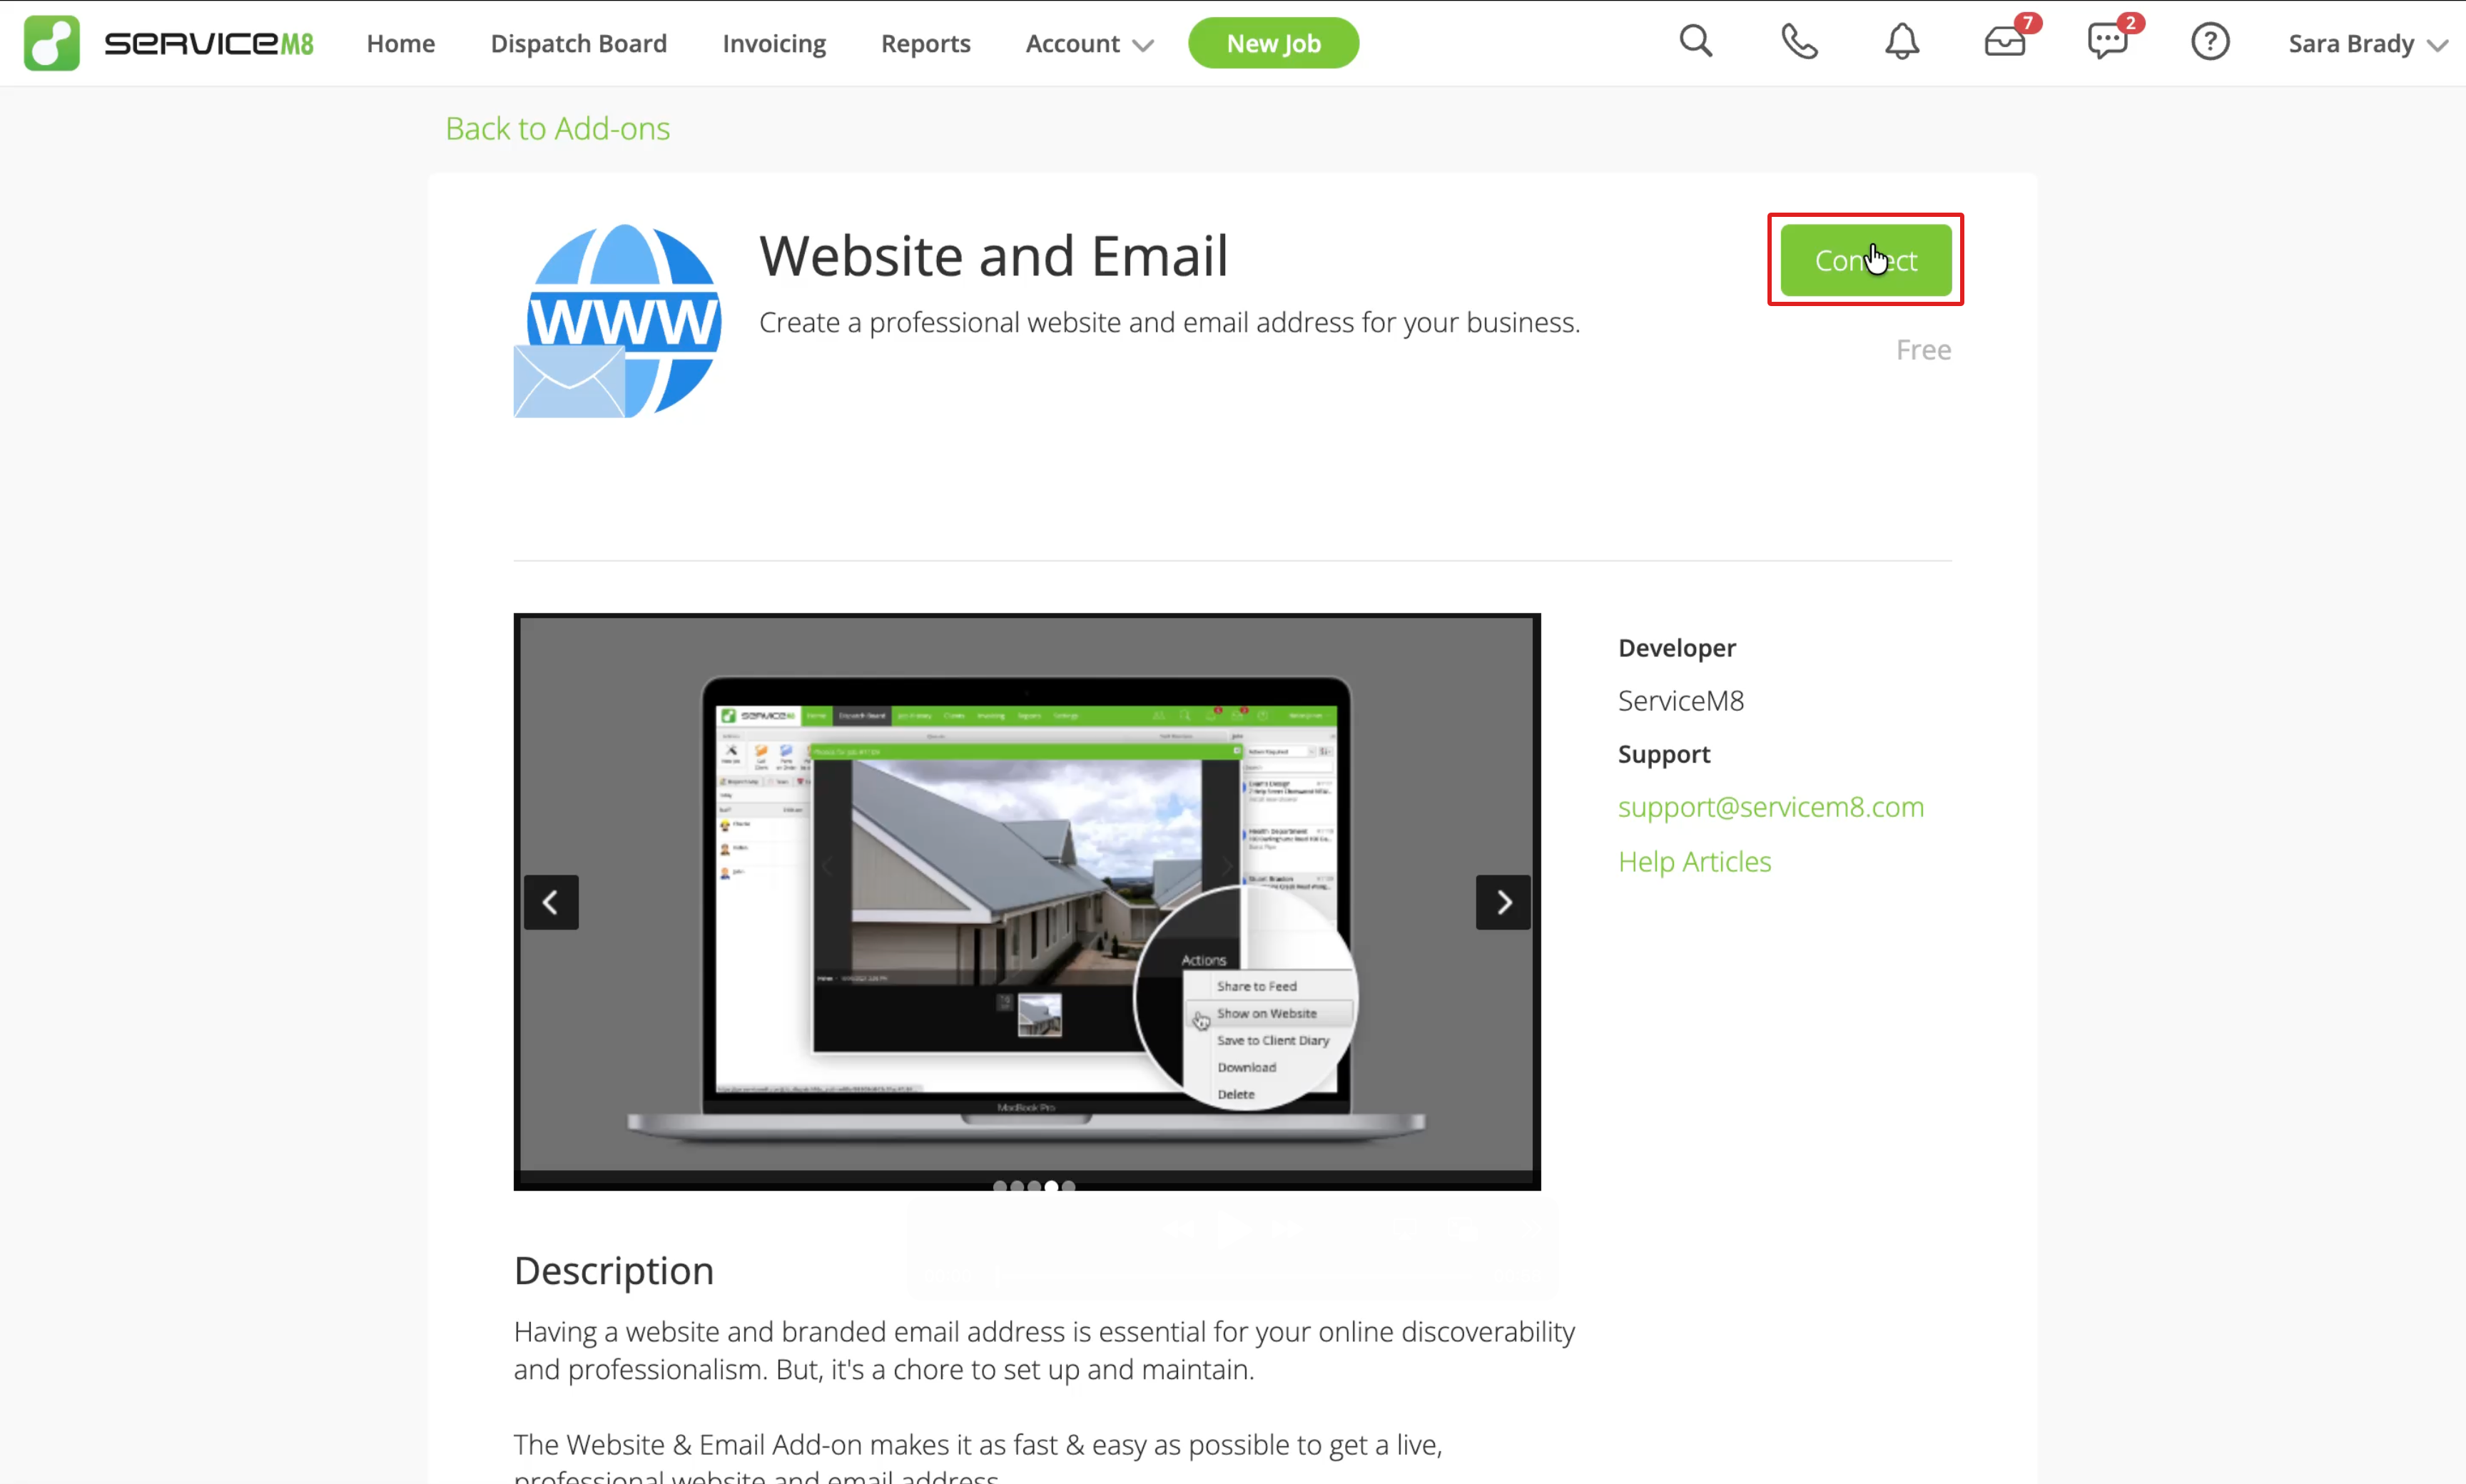
In the Online Dashboard, go to Settings > ServiceM8 Add-Ons. Open Website and Email and click Connect.
-
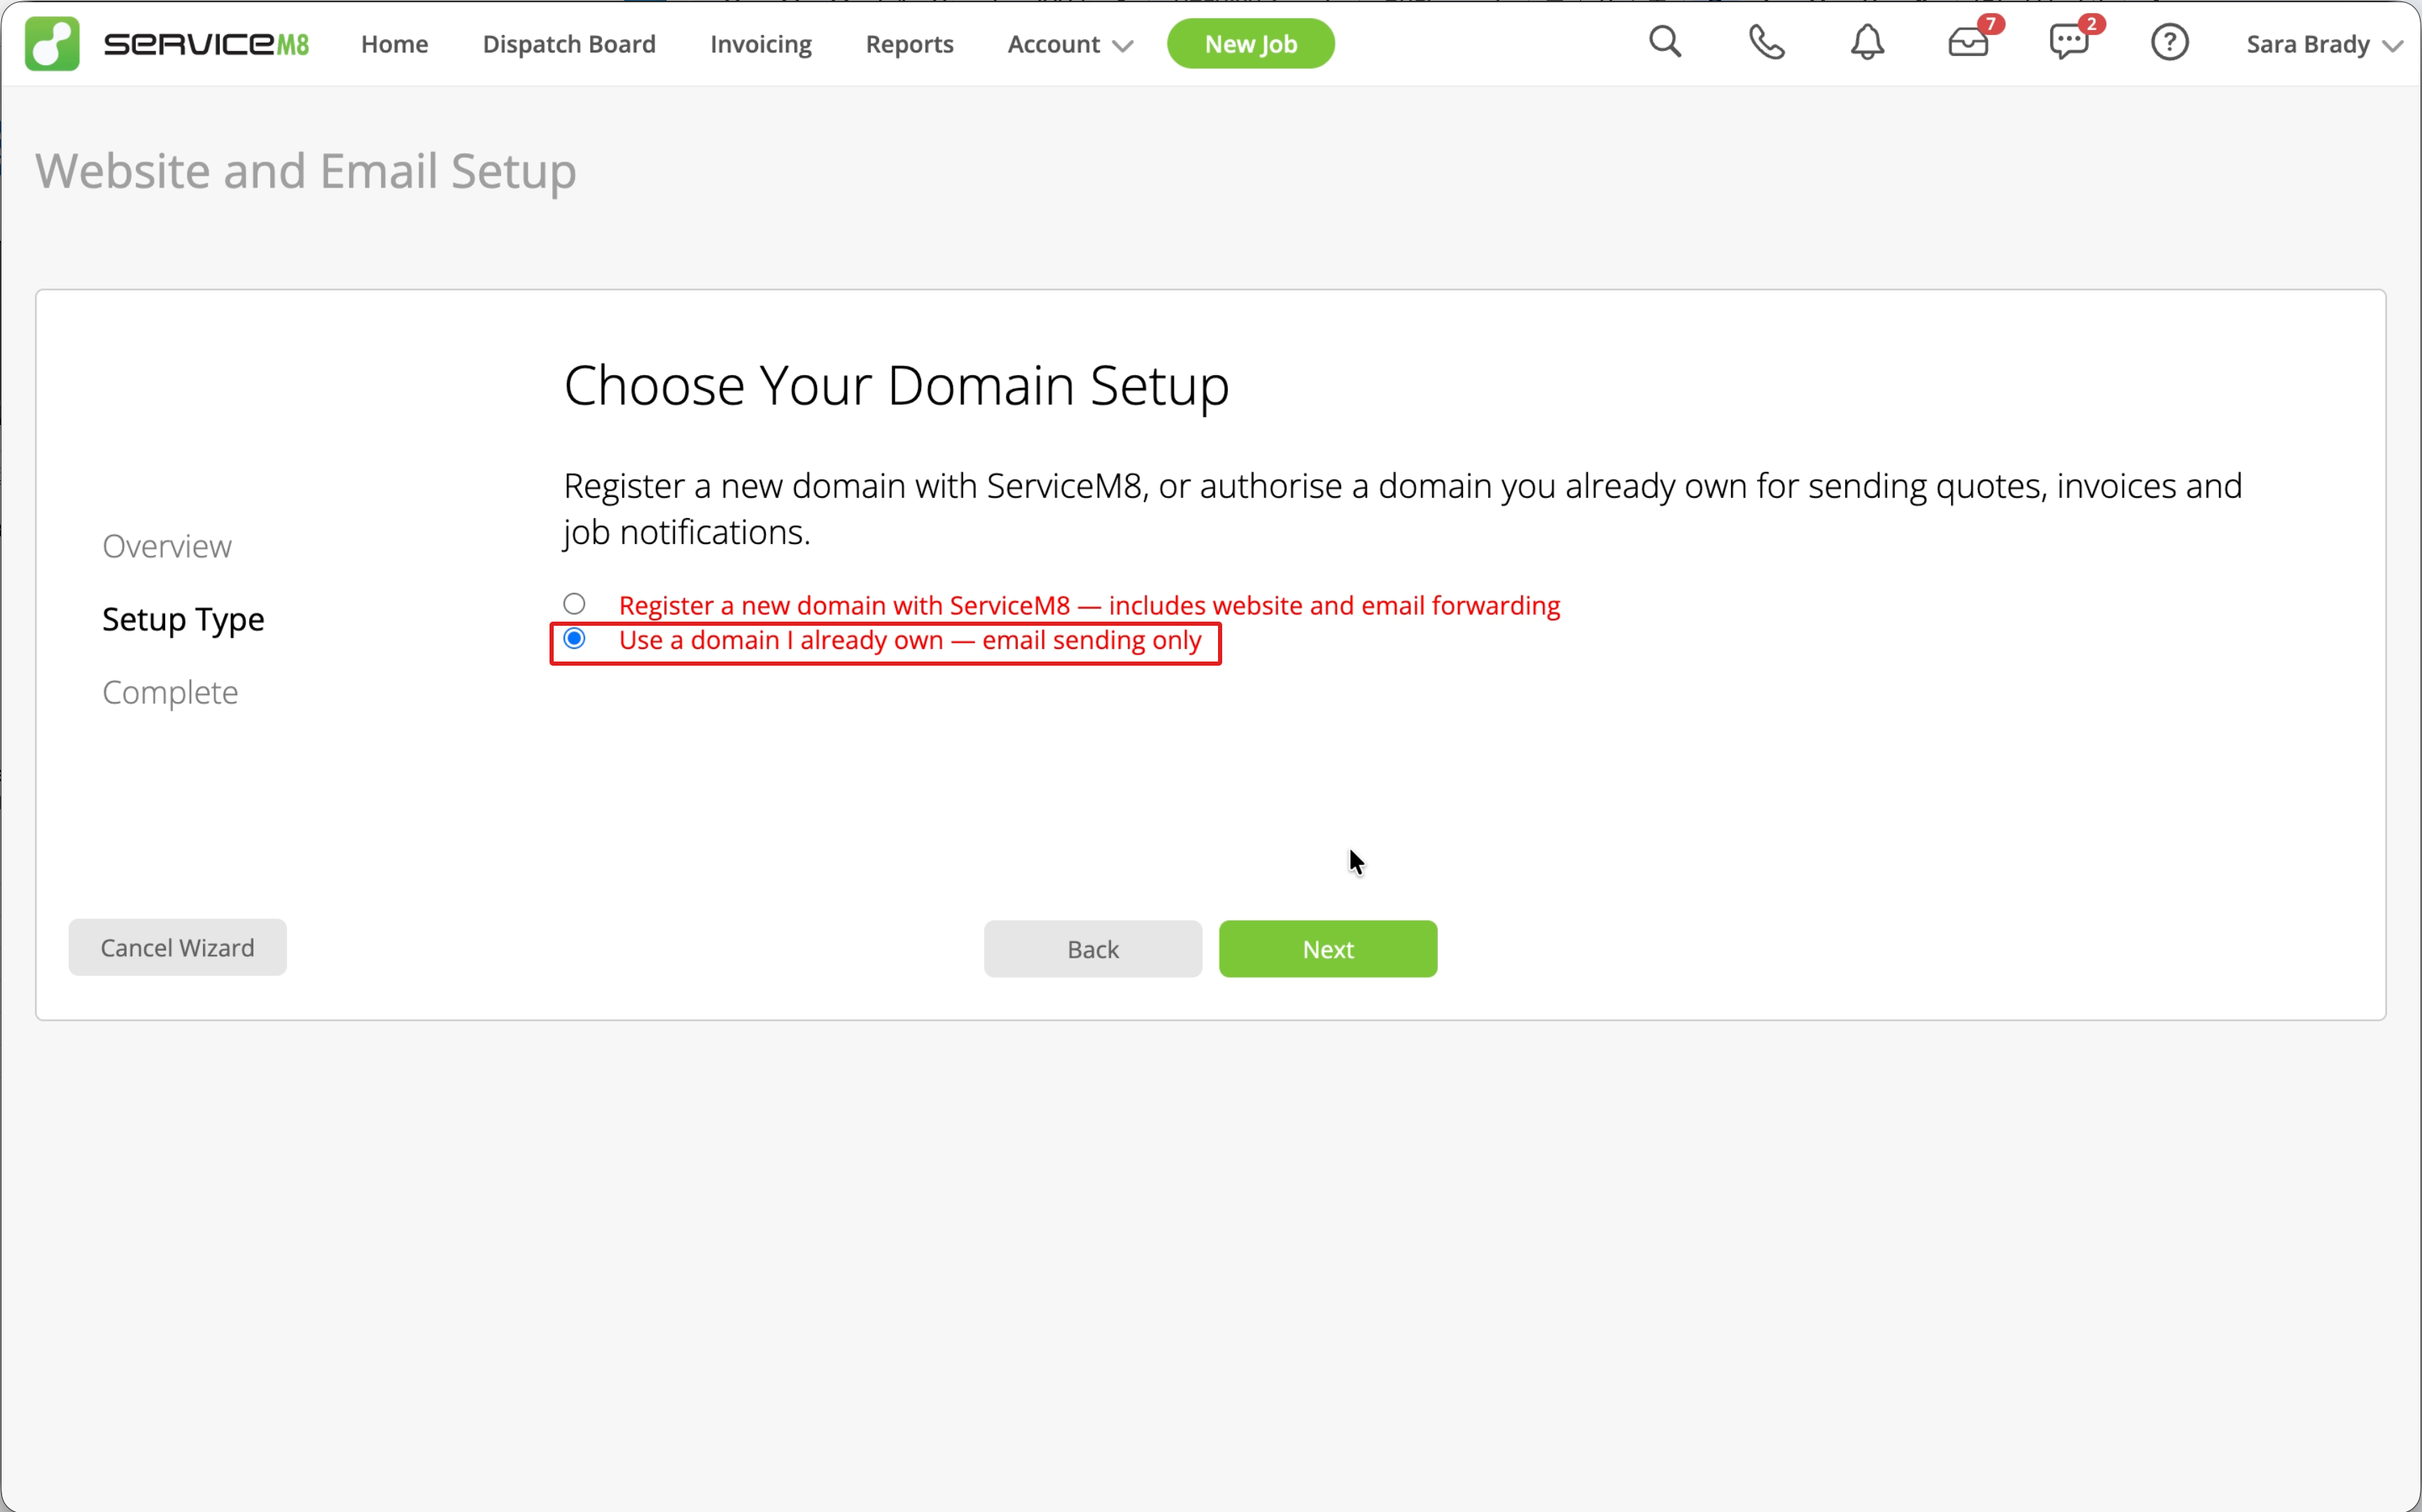
Click Next on the overview. Select Use a domain I already own — email sending only, then click Next.
-
Enter your Business Domain and Sending Email Address, then click Next. Enter the domain without a website prefix such as
https://; the email address must use that domain.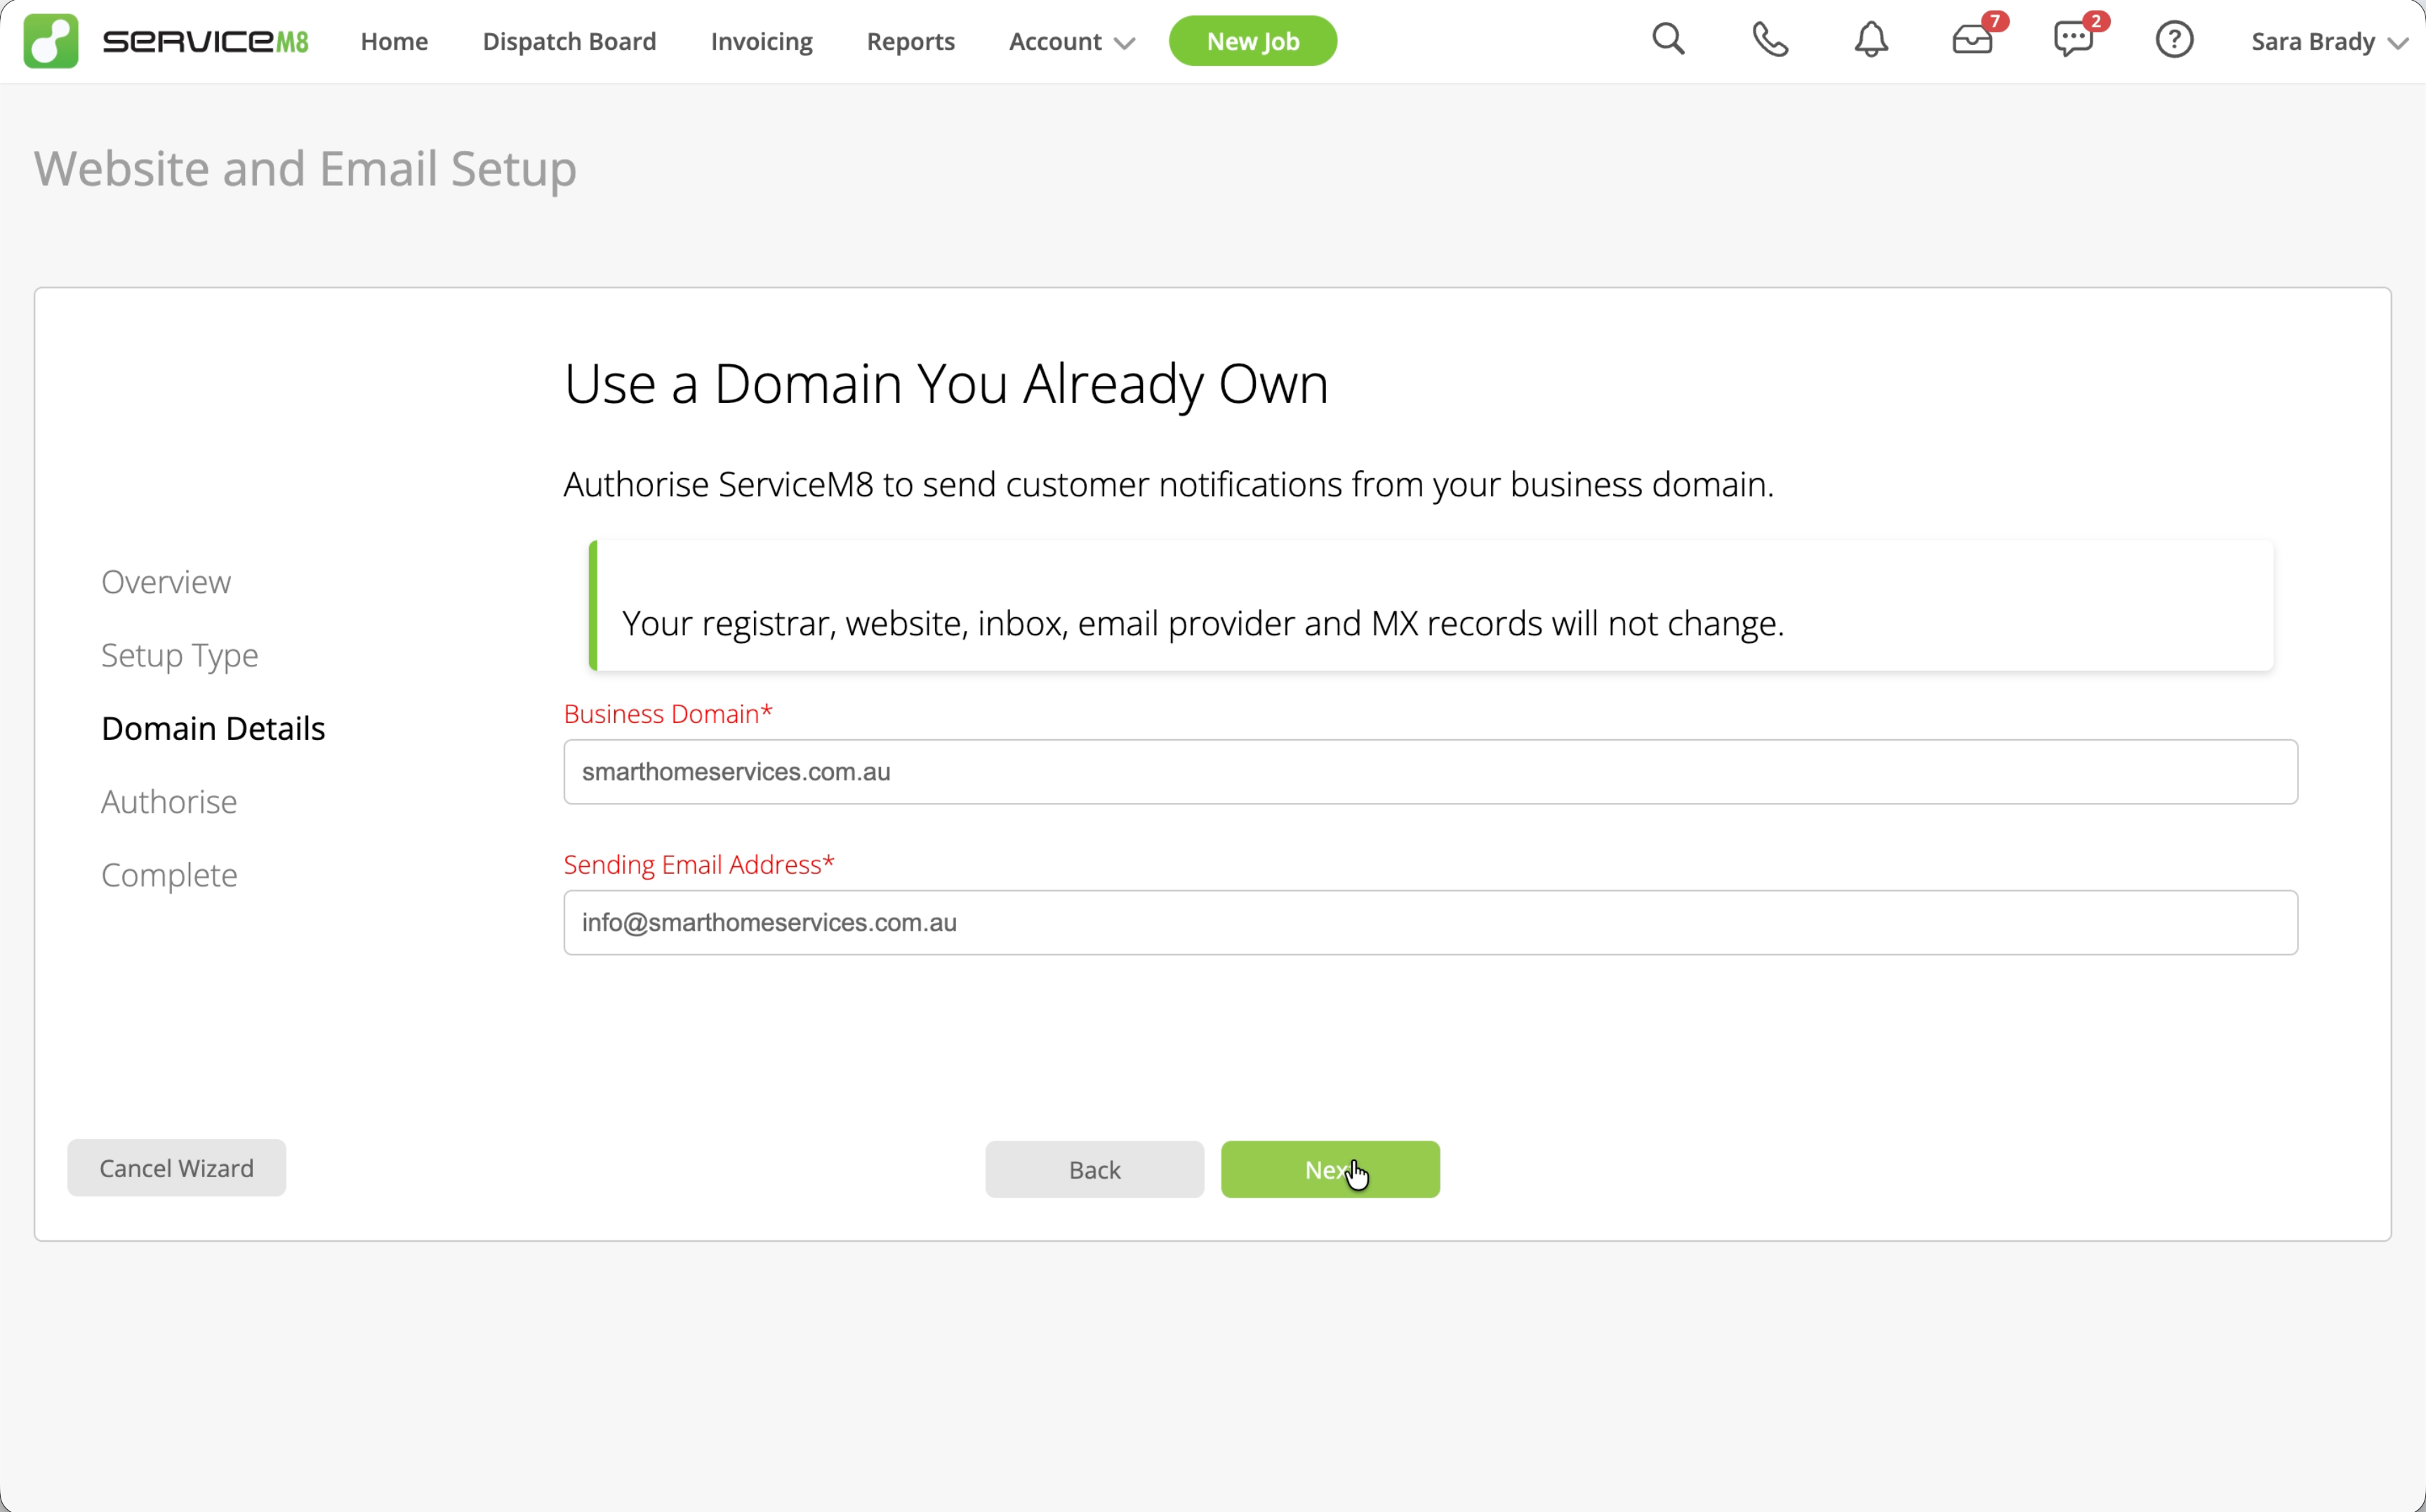
Verify your domain
-
Sign in to your DNS provider and add all five records shown on Authorise ServiceM8 to Send, using the Type, Host and Value from your account. Keep your existing website and receiving-email records: the displayed TXT and MX records apply to a separate sending subdomain. Return to ServiceM8 and click Re-check DNS to check your changes.
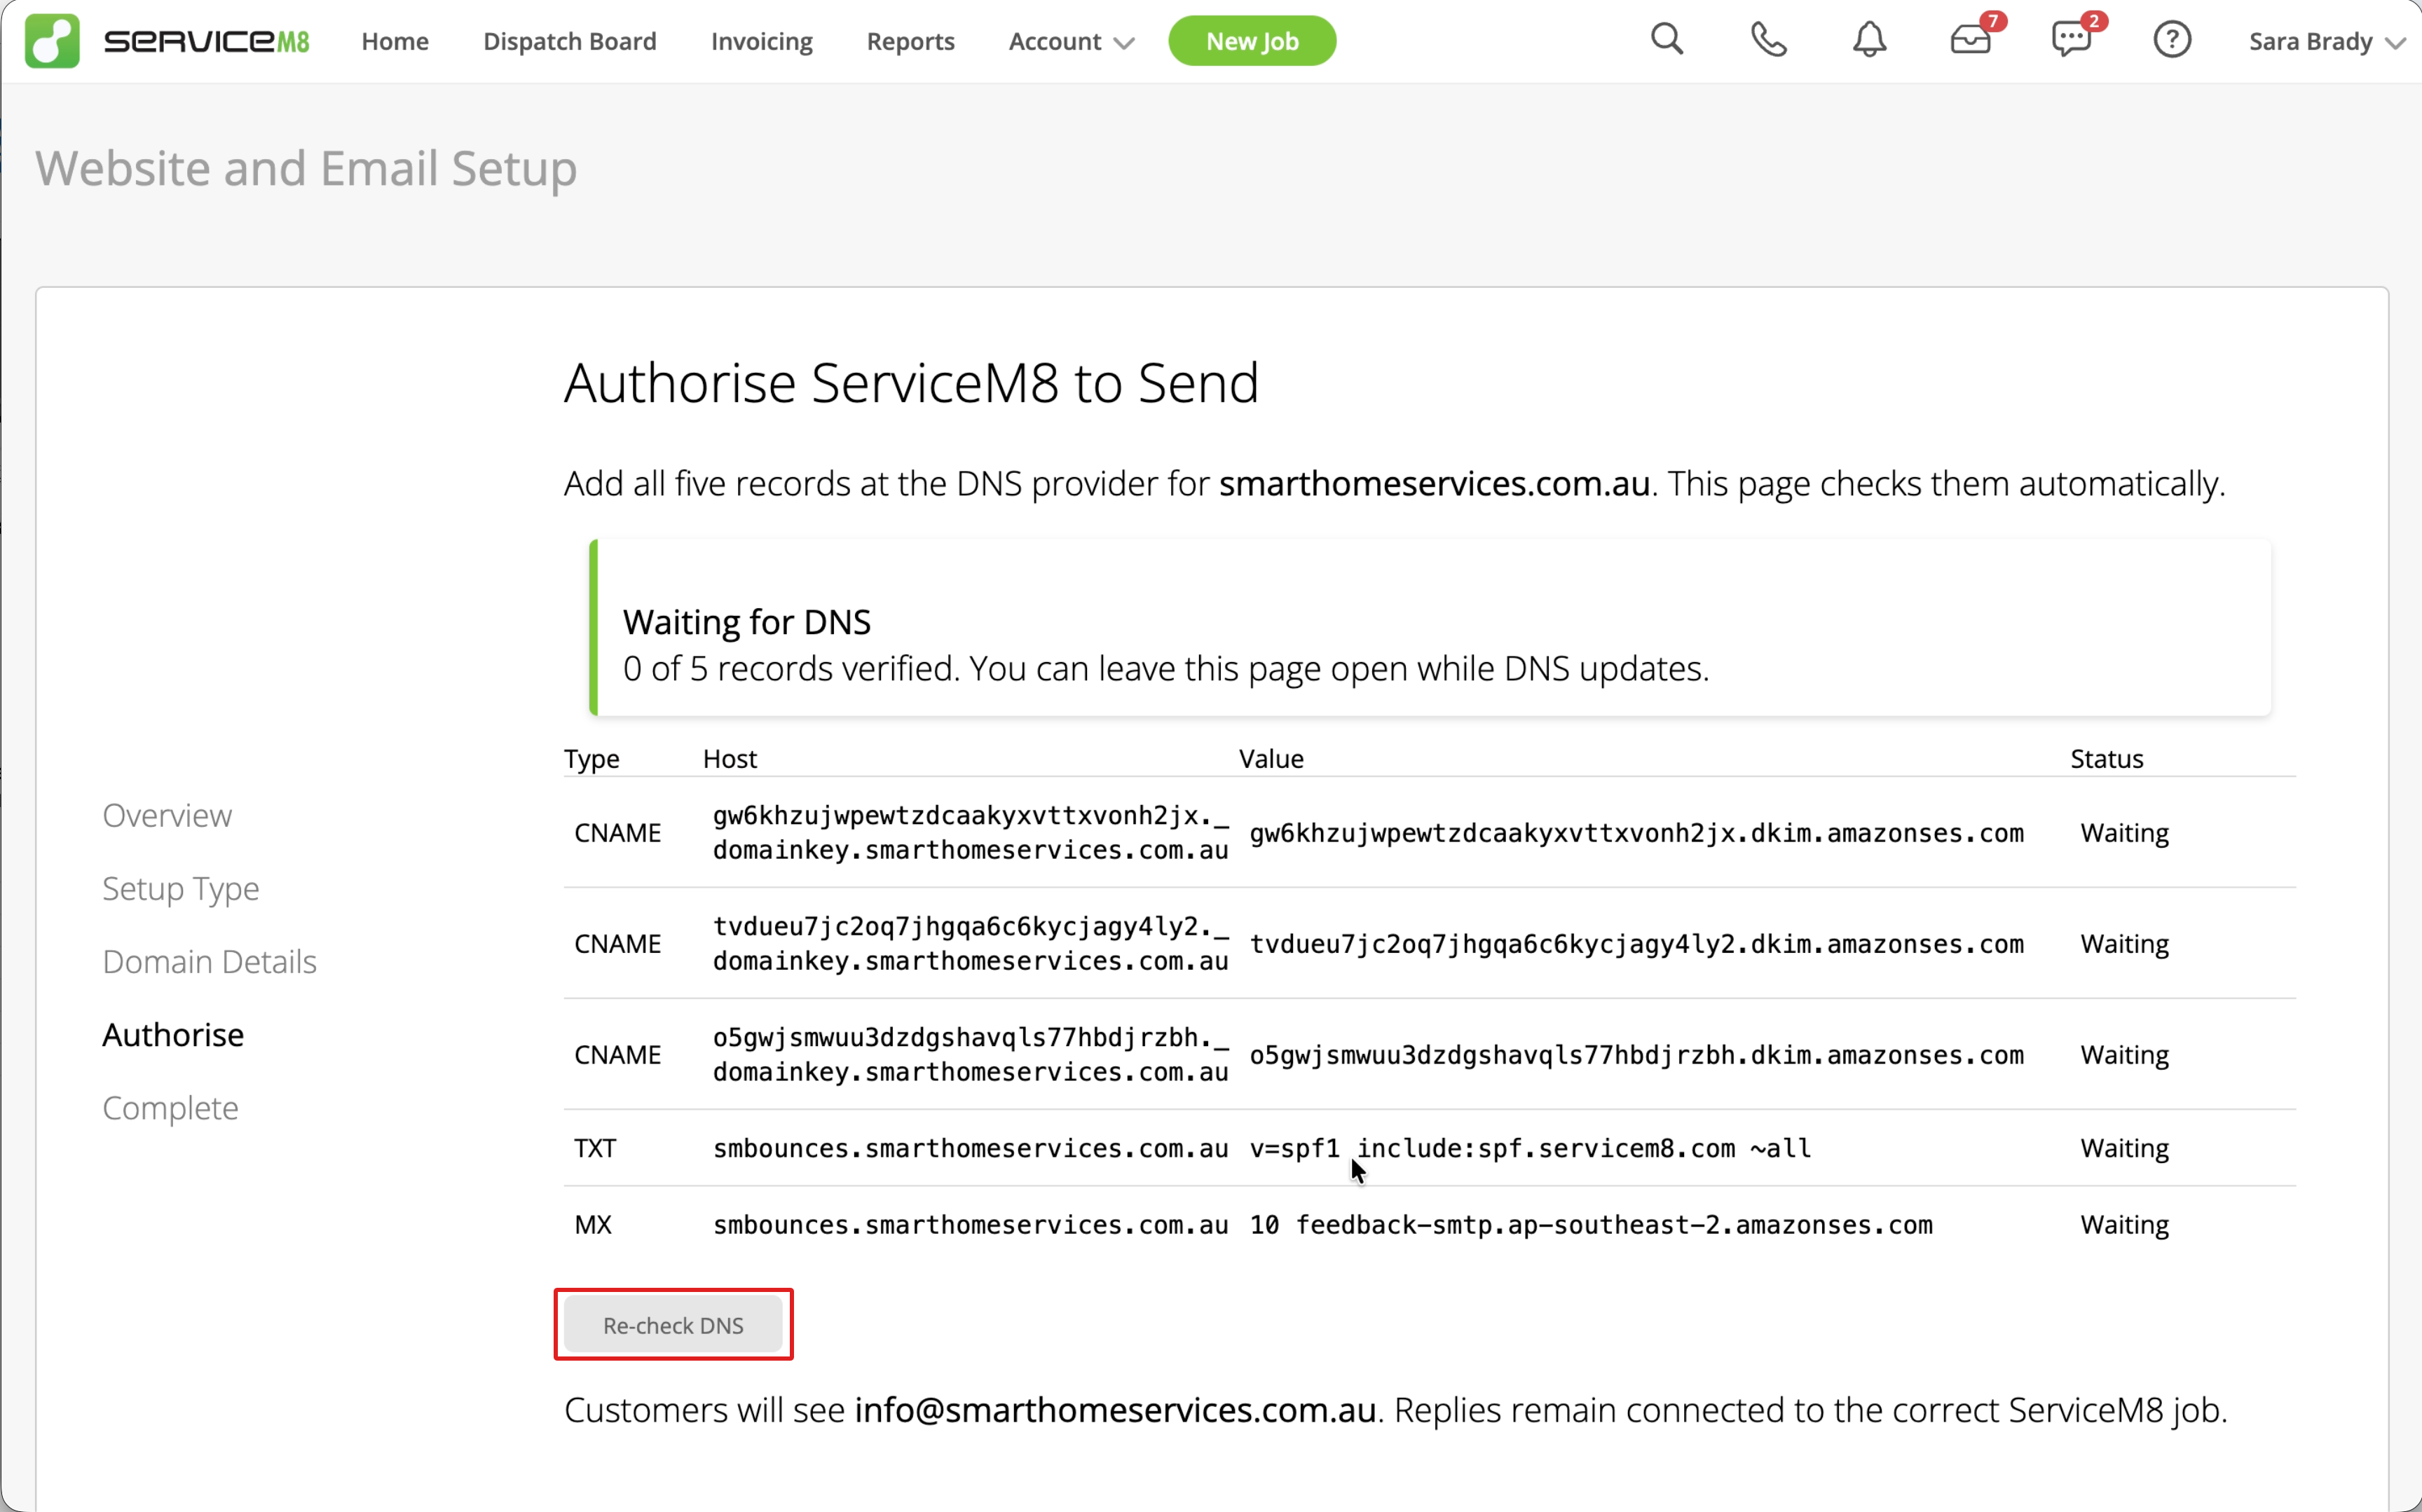
ServiceM8 also checks automatically and can activate sending when verification succeeds, even if you have left the wizard.
-
When the wizard shows DNS verified, click Next, then Finish. Your configured address is used for supported customer emails, while replies remain connected to the correct ServiceM8 job.
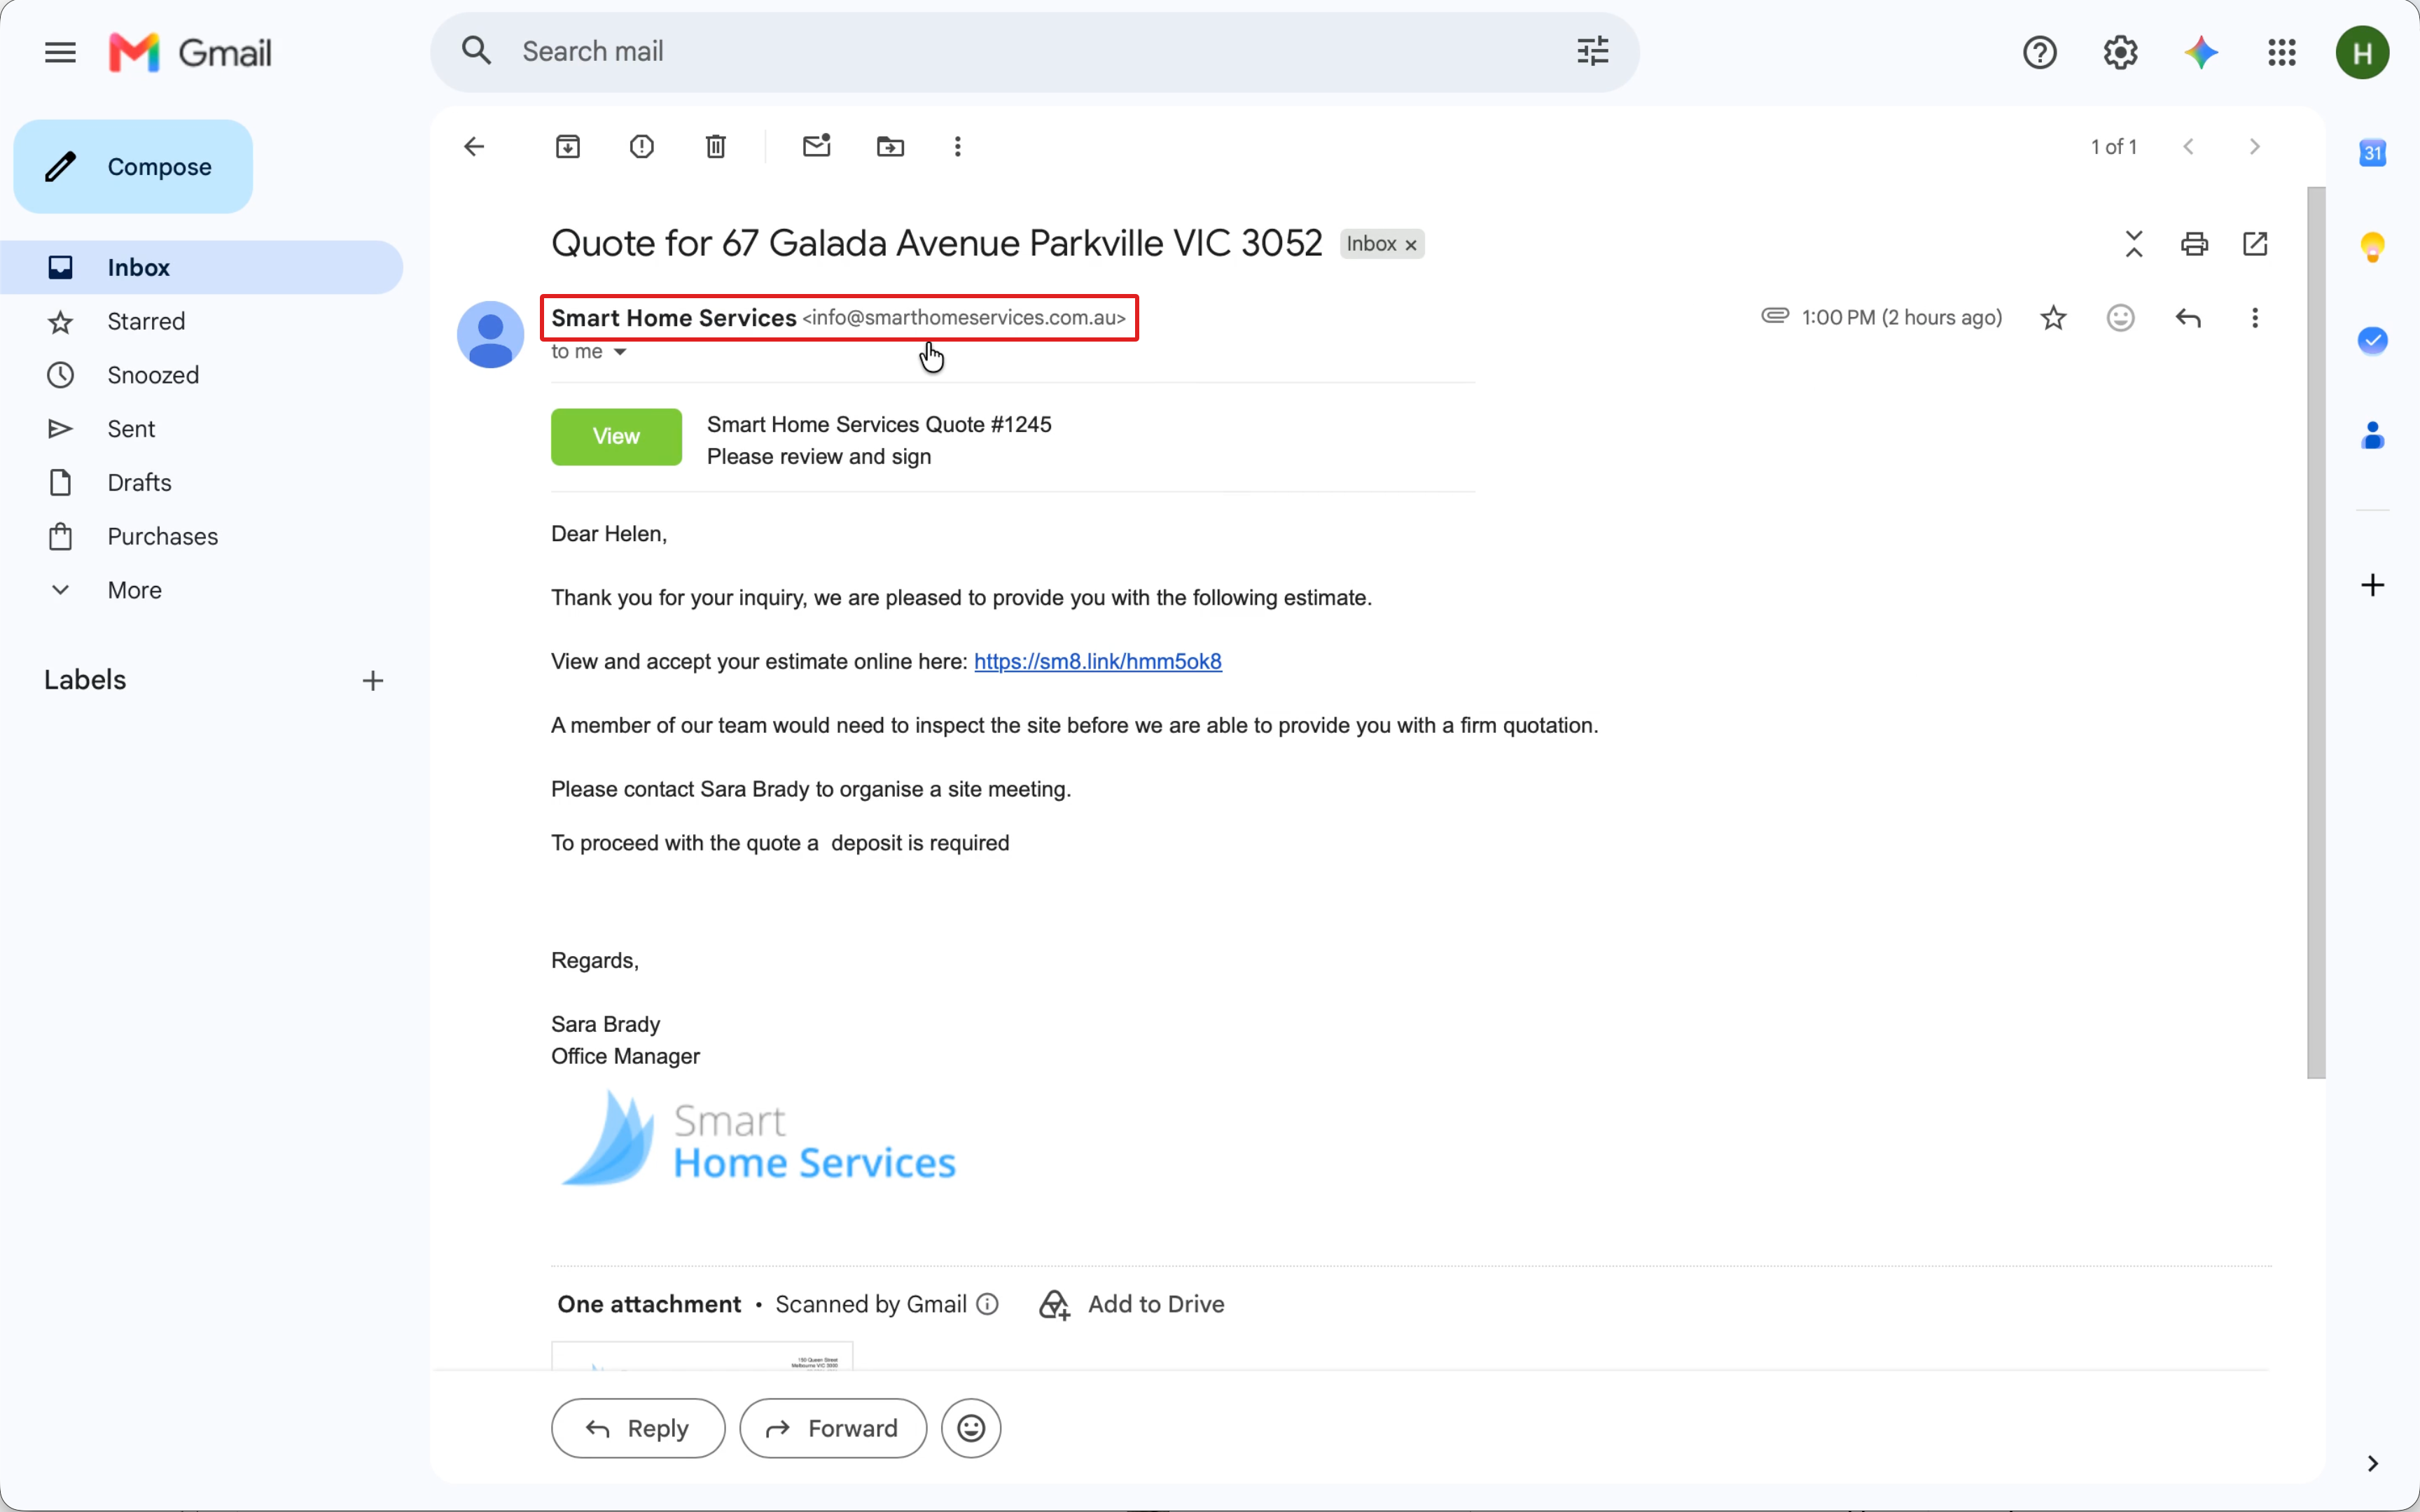
Change your sending details
- Return to Settings > ServiceM8 Add-Ons, open Website and Email and click Connect to run the setup wizard again.
- Choose Use a domain I already own — email sending only and enter your updated domain or sending address.
- If prompted, review the current and replacement details on Confirm Sending Domain Replacement. Select the confirmation checkbox, then click Next.
- For a different domain, add and verify its DNS records before completing setup. If you only change the sending address on the same authenticated domain, its verification is retained. Continue through the wizard and click Finish.