Documentation Index
Fetch the complete documentation index at: https://support.servicem8.com/llms.txt
Use this file to discover all available pages before exploring further.
This video covers the same getting started workflow as the article below.
The easiest way to start with Office Agent is to add one narrow task from the Task Library, run it straight away, and refine it inside the task conversation before you rely on automation.
Office Agent is being enabled through a staged rollout. You use it in the Online Dashboard, and access is limited to staff with the Business Owner security role.
The screenshots below follow one example first-run workflow from a demo account.
Open Office Agent
If Office Agent is enabled on your account, open it from the Online Dashboard.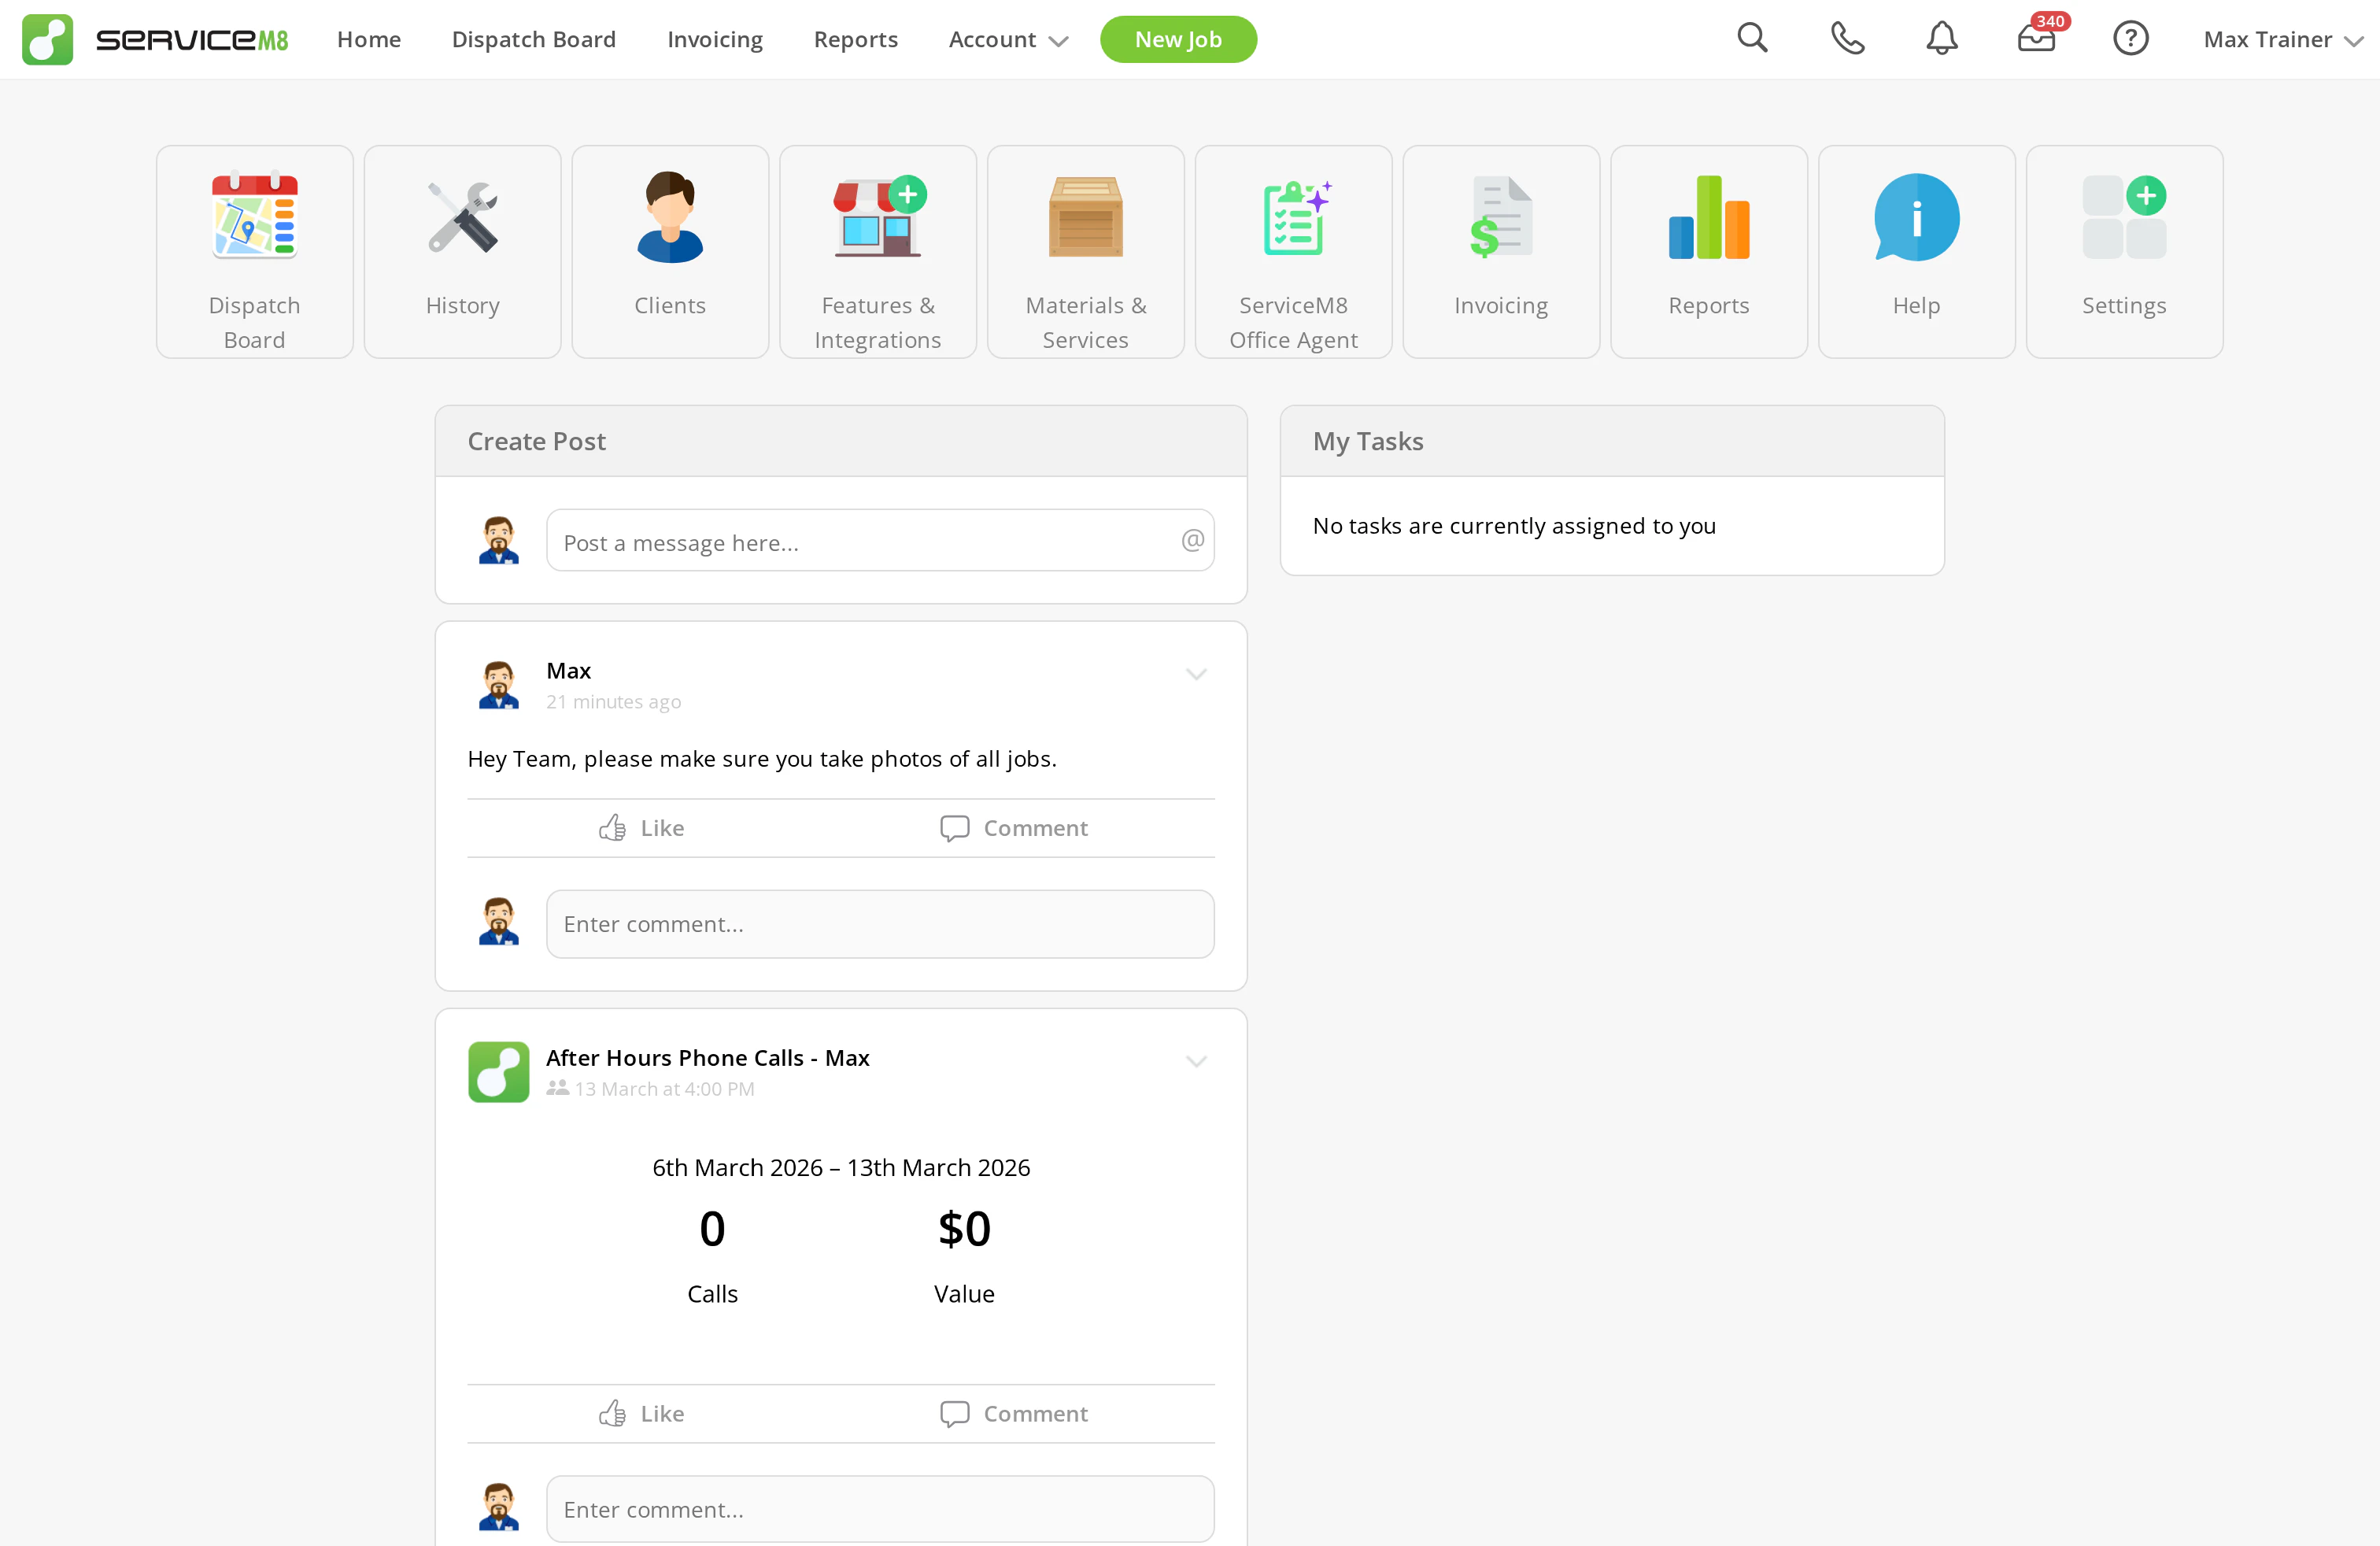
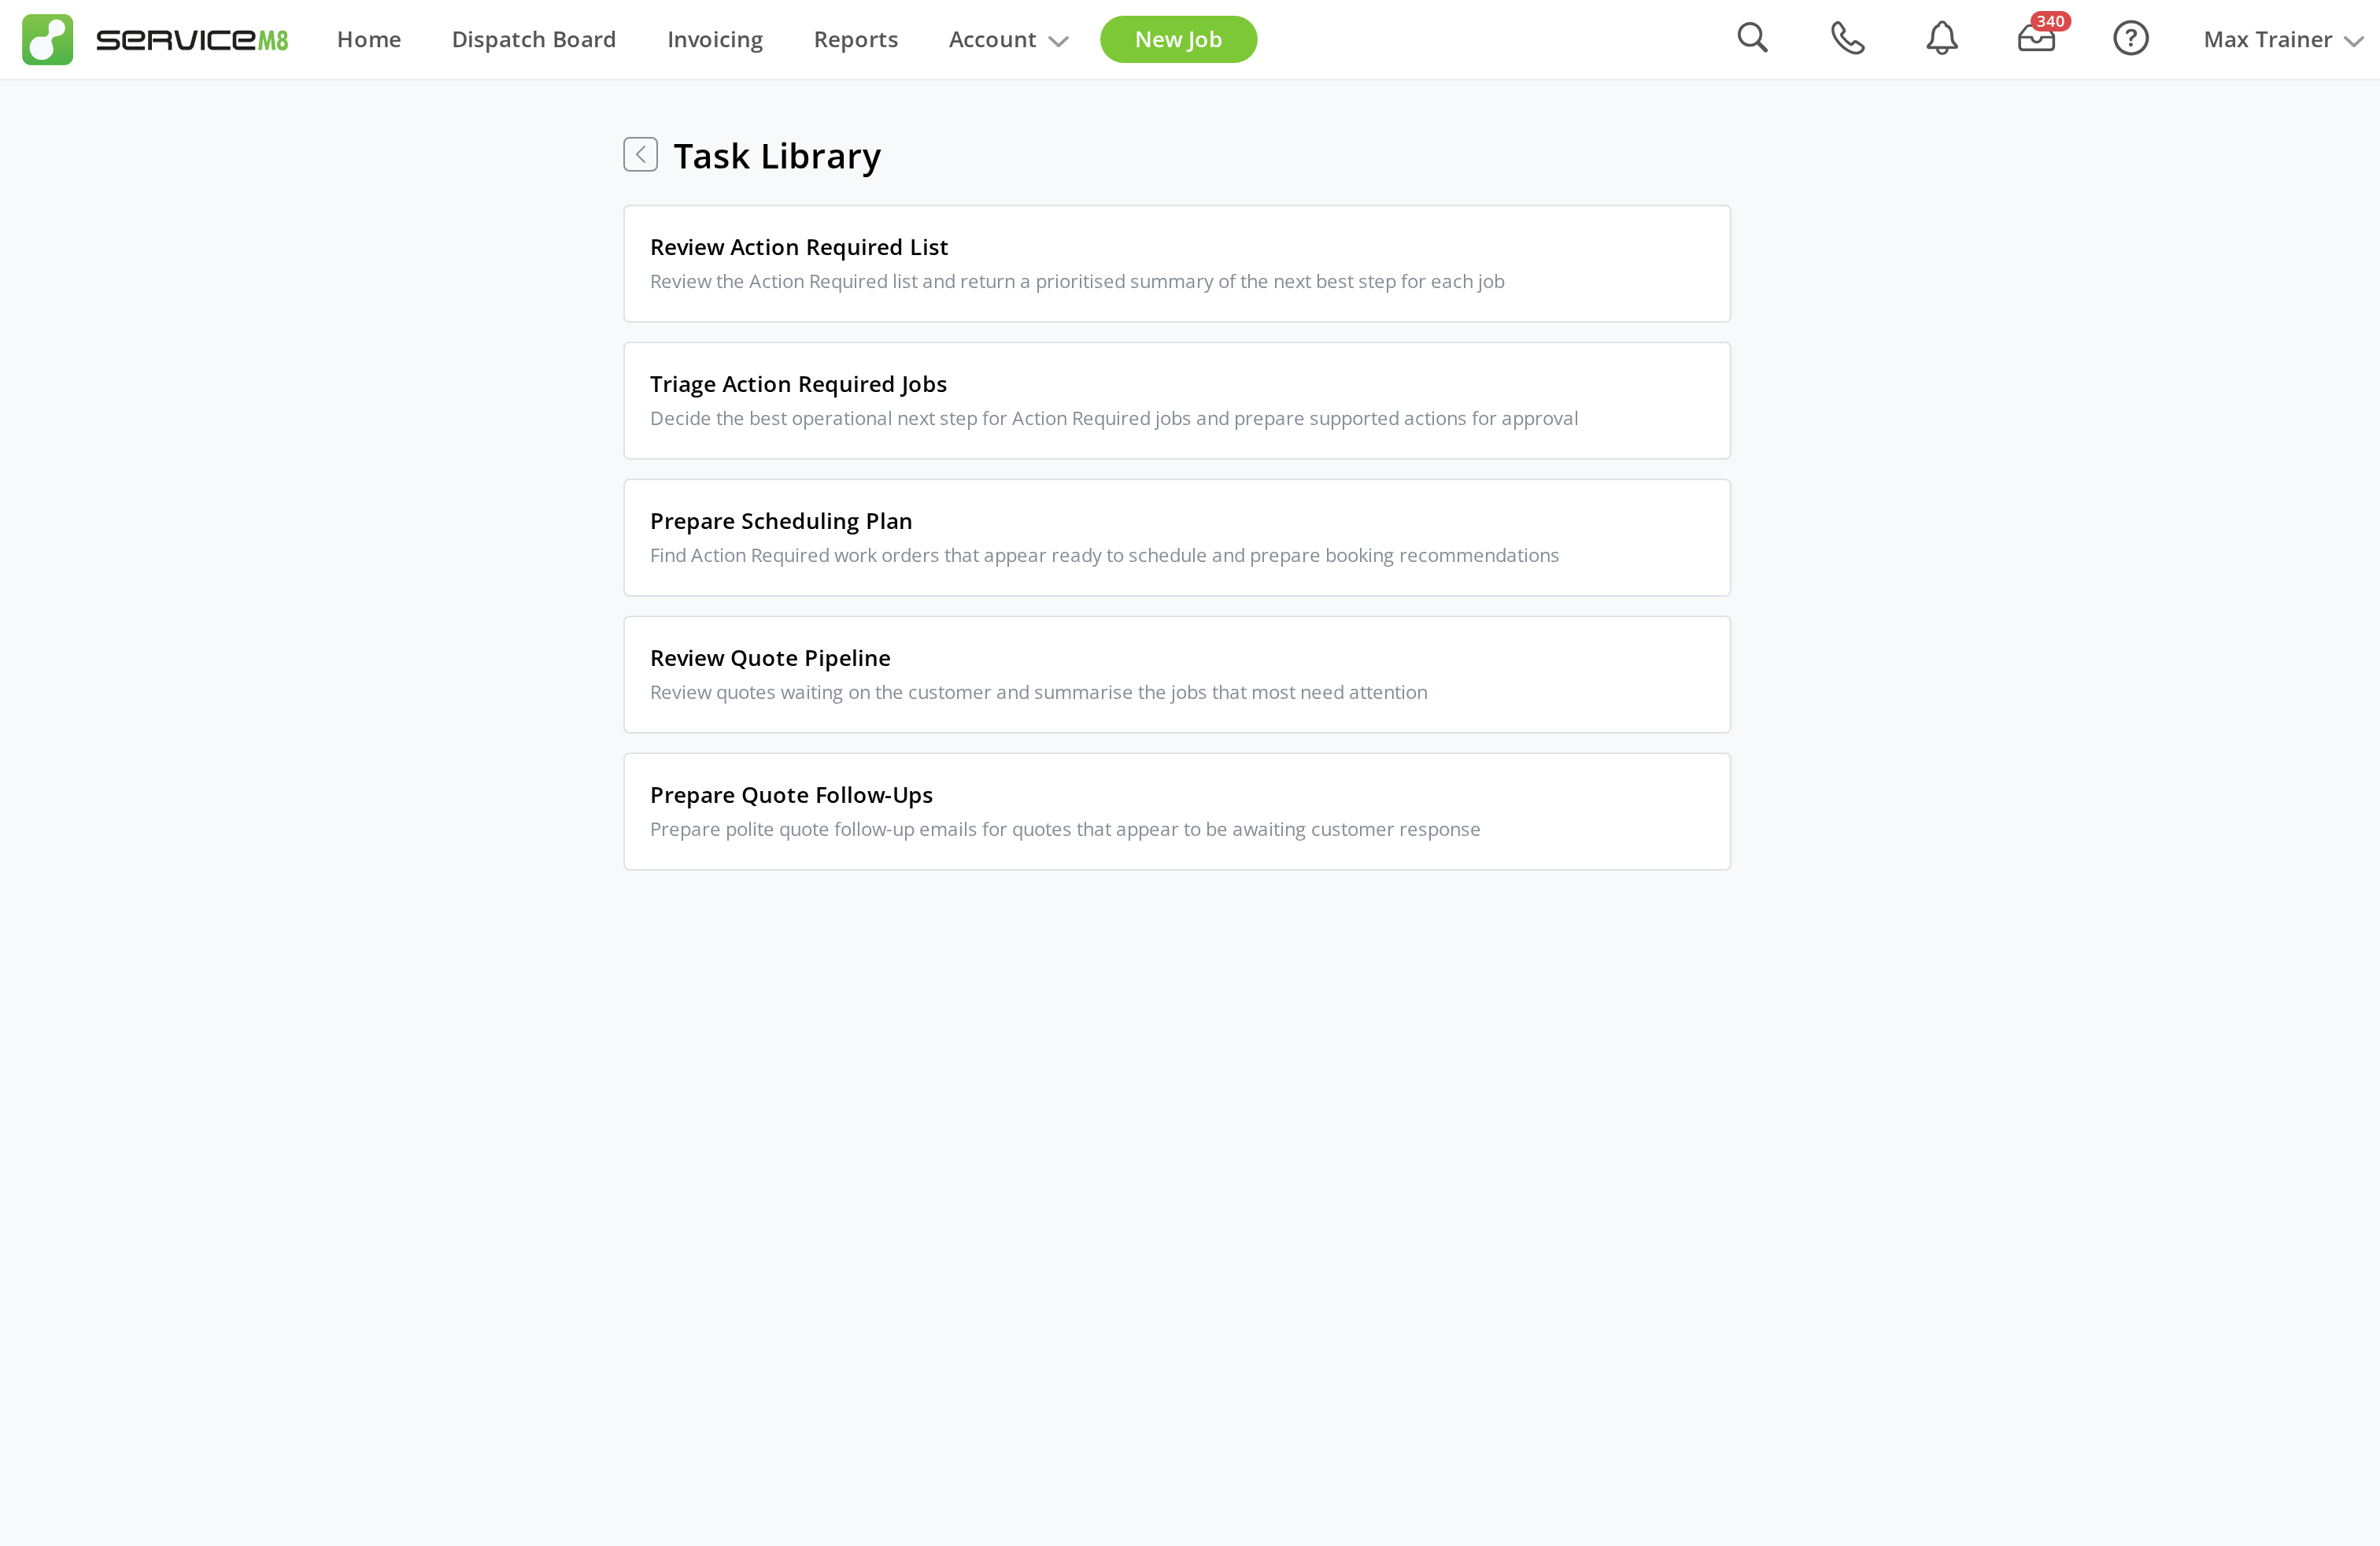
Start with the Task Library
For your first task, start with Triage Action Required Jobs from the Task Library. This is a good starter task because it has a narrow scope, the results are easy to review, and the output is immediately useful.- Click Task Library.
- Select Triage Action Required Jobs.
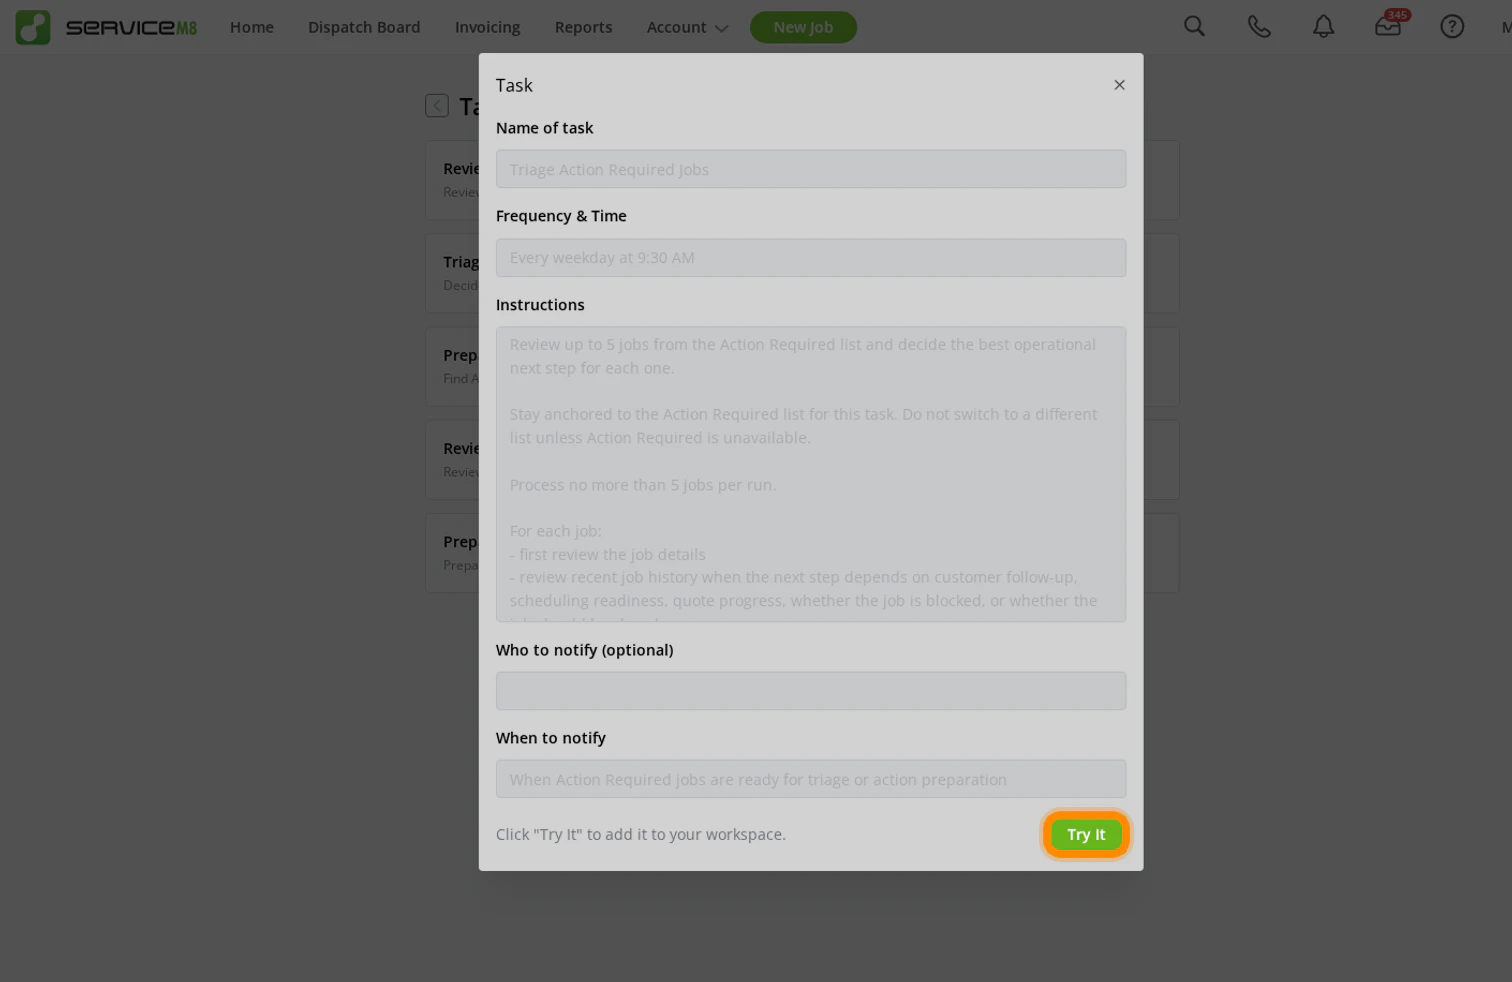
Review the template and click Try It
- Review the template name, schedule, instructions, and notification settings.
- Confirm that the task is reviewing the Action Required list.
- Click Try It to add it to your workspace.
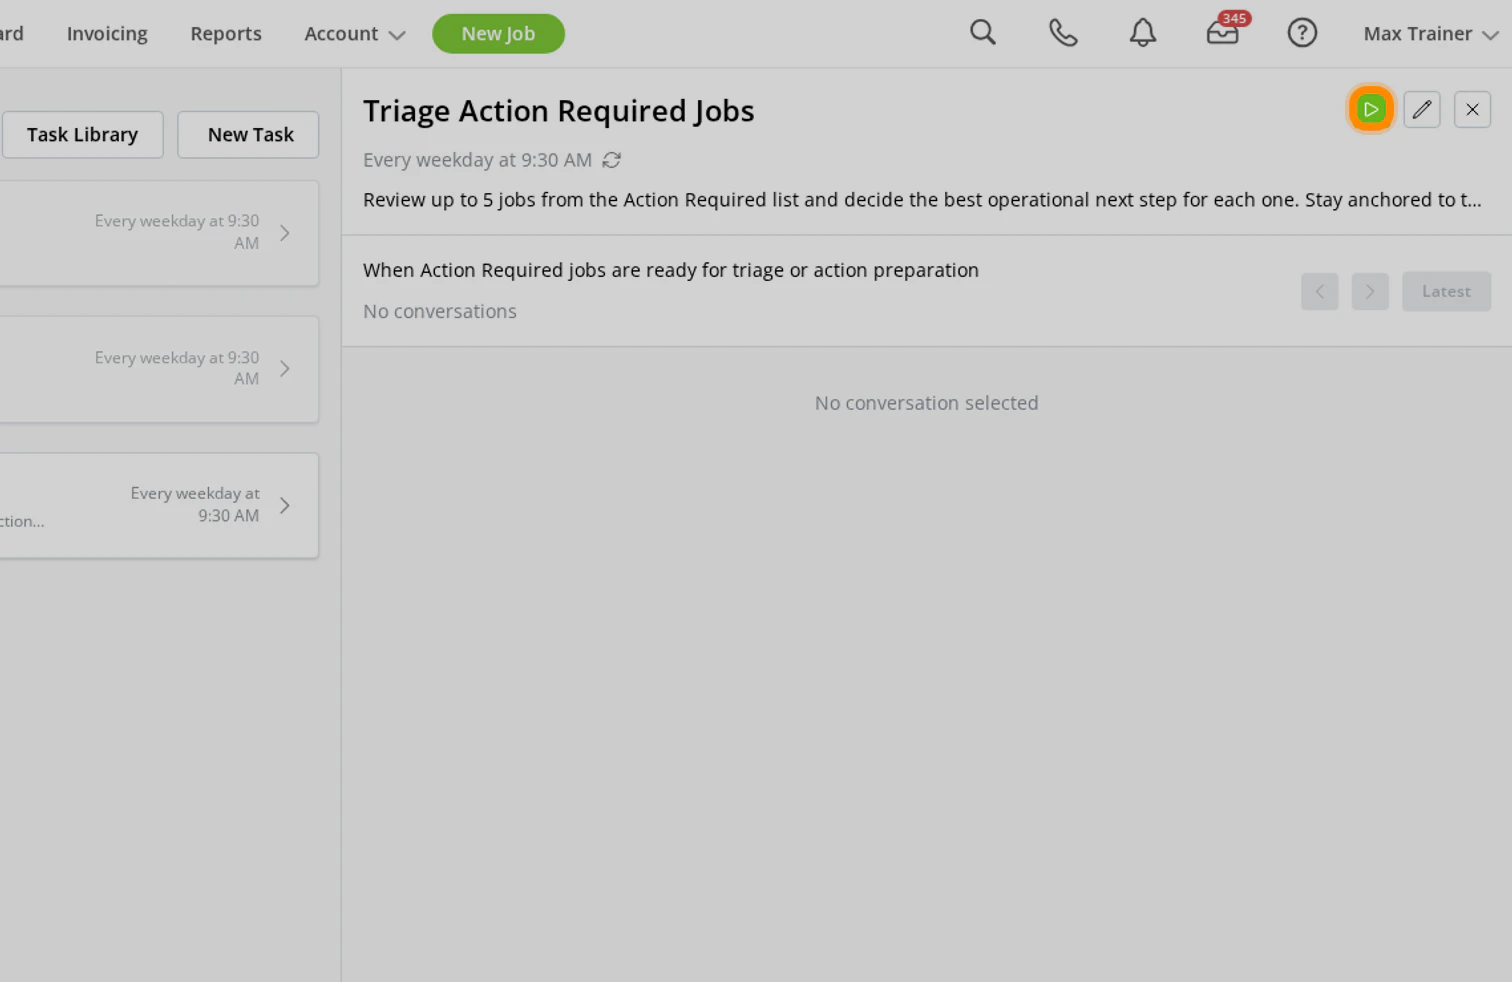
Run the task for the first time
- Open the new task in your workspace.
- Click the play button to run it immediately.
- Do this before you rely on the saved schedule.
Review the first run carefully
Treat the first few runs as setup, not as a finished automation. Check:- whether it reviewed the right jobs, list, or queue
- whether it chose the right staff member
- whether the tone of any customer communication matches your business
- whether it suggested scheduling when you wanted allocation, or allocation when you wanted scheduling
- whether the proposed next step for each job is useful and appropriate
- whether the task is still narrow enough for a first automation

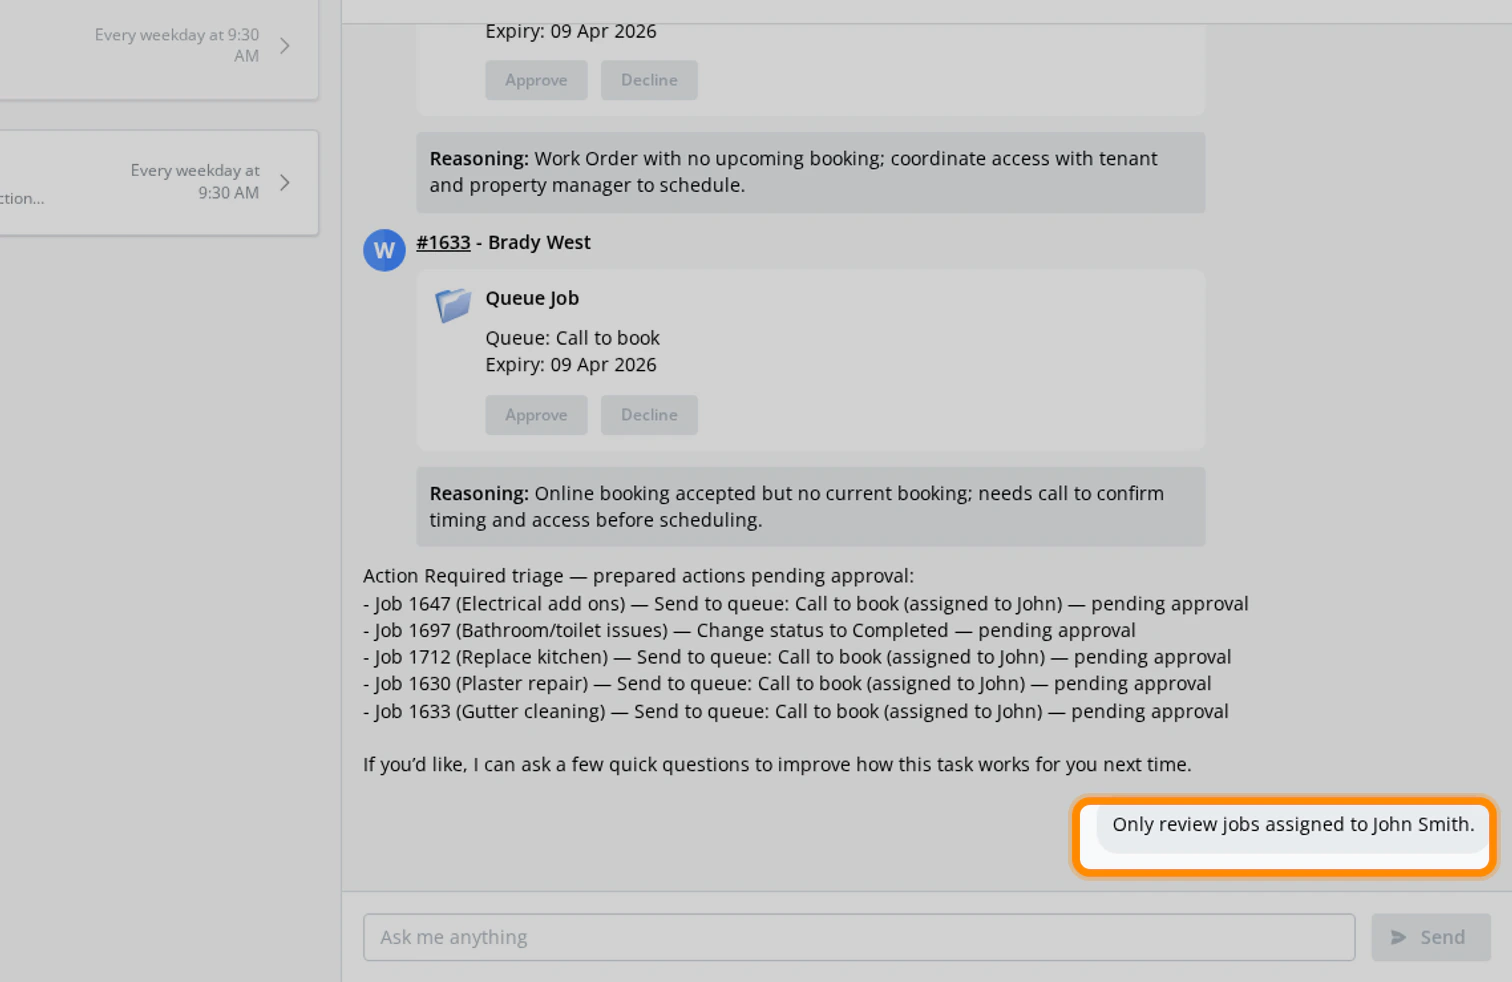
Refine the task in the conversation
If something is not right, reply in the same task conversation and tell Office Agent what to change. This is normal setup behaviour. Good examples include:- “Only review jobs assigned to John Smith.”
- “Use a more professional tone in customer messages.”
- “Allocate the job instead of creating a booking.”
- “Only review Action Required jobs in this queue.”
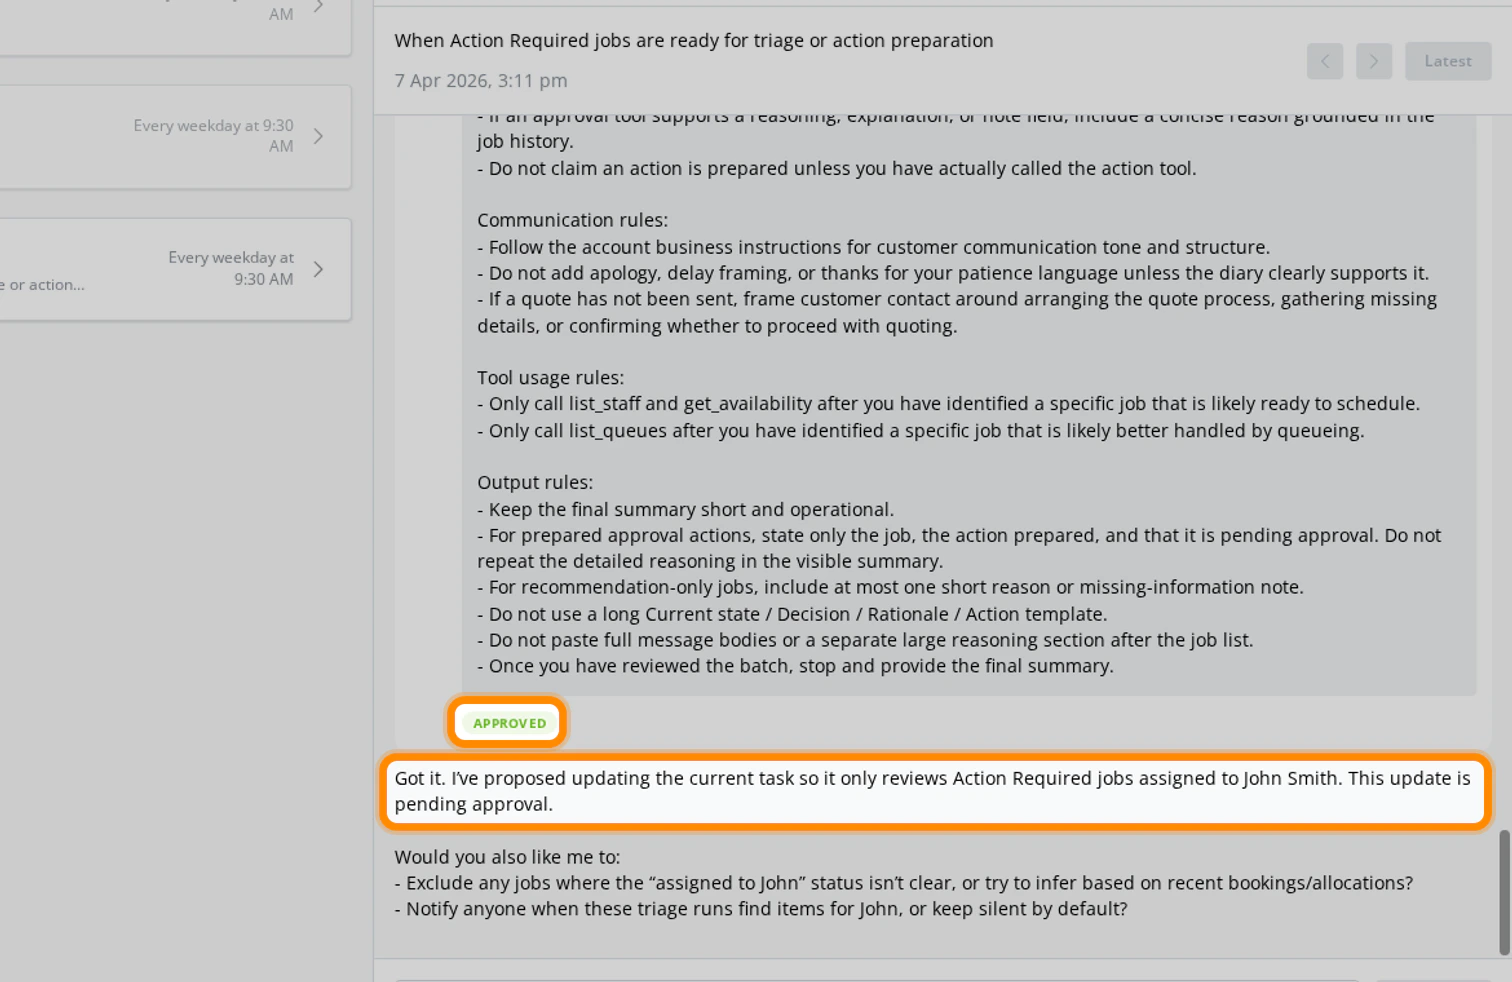
Approve the proposed change
When Office Agent understands your correction, it can prepare an update to the task instructions, schedule, or notification settings for approval inside the same conversation.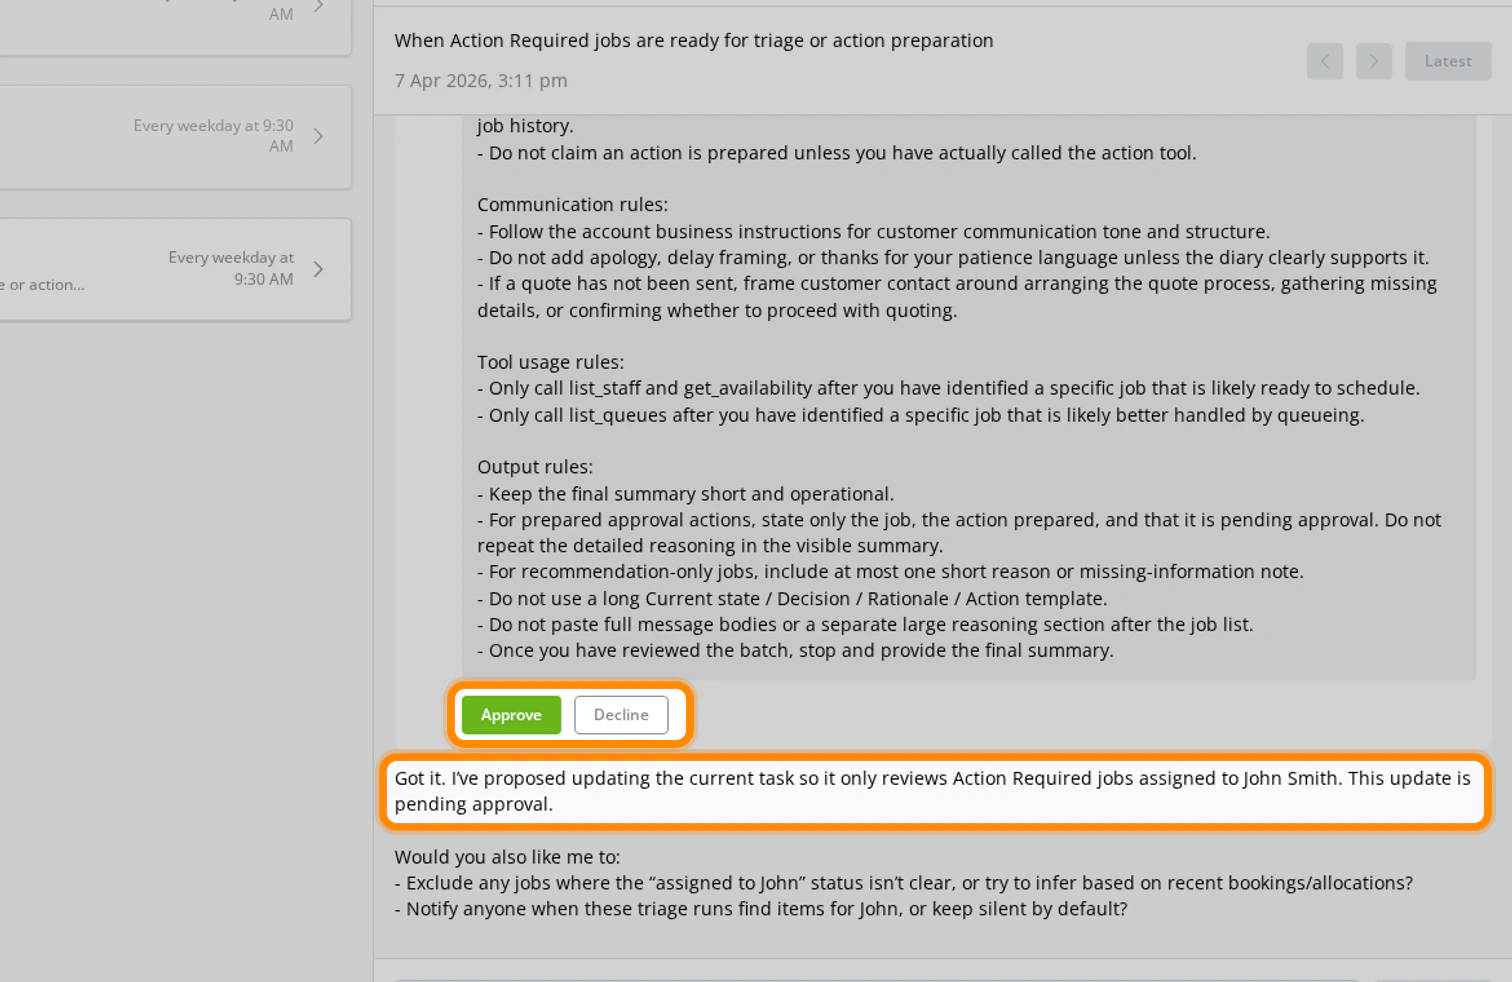
Run the task again
After you approve the change, click the play button again. Compare the new run with the previous one. Check whether the correction fixed the problem without making the task broader than it needs to be.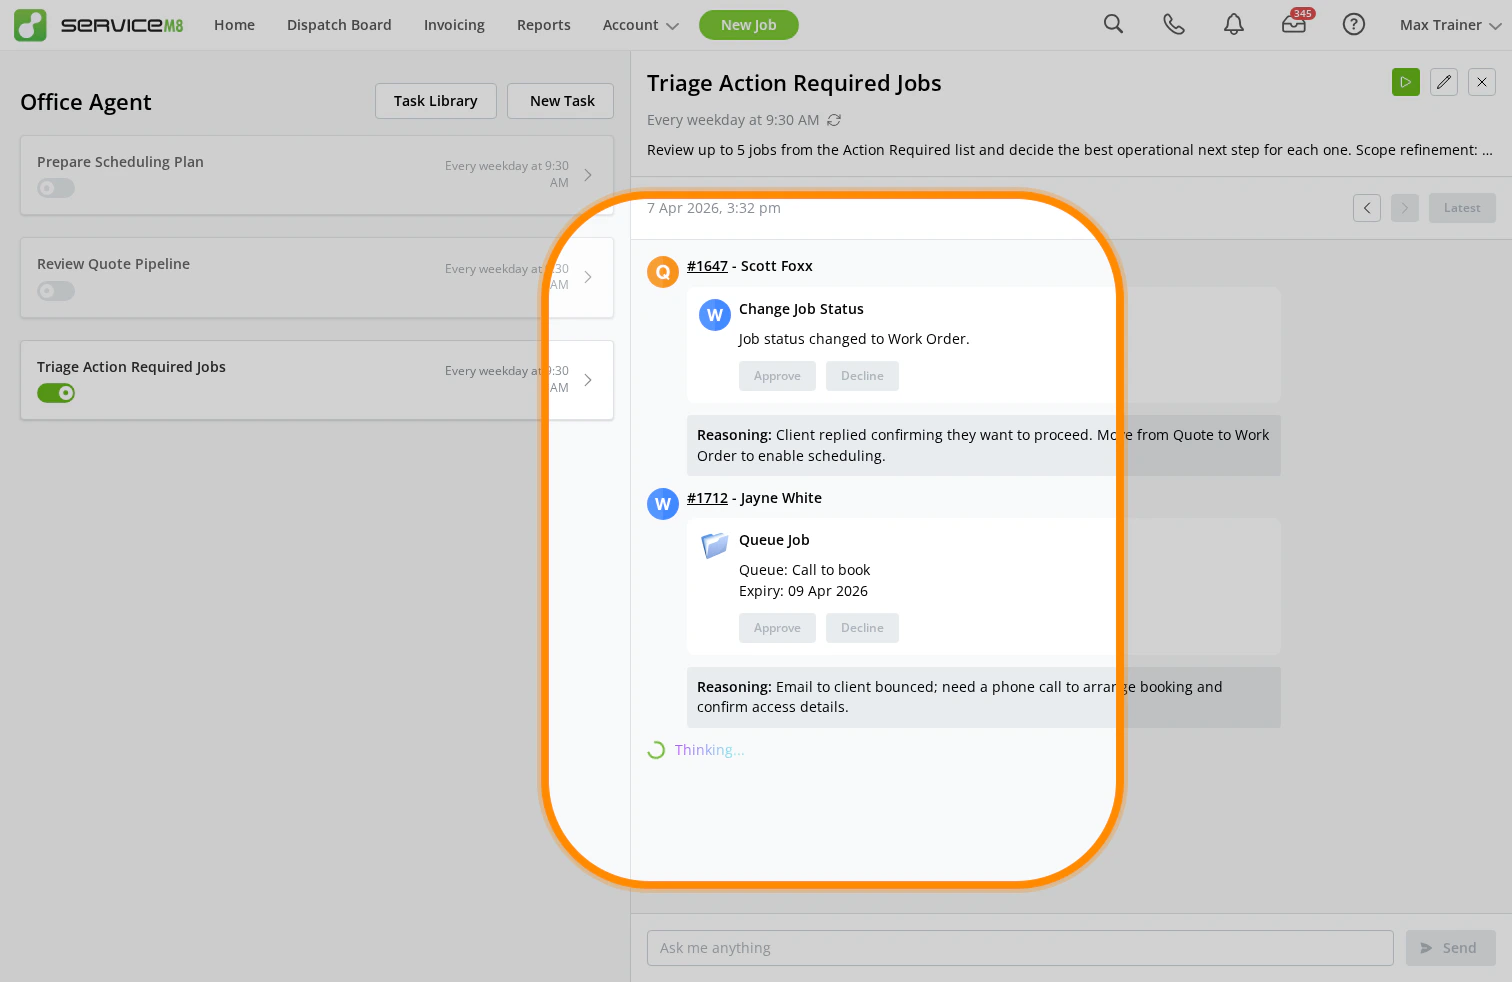
Repeat until the task fits your business
The easiest way to teach Office Agent your workflow is to repeat this loop:- Run the task.
- Review the result.
- Message the correction.
- Review the proposed change.
- Approve it if it is correct.
- Run the task again.