Automatically send a live statement to your customers every week, two weeks, or at the start of the month using the Live Statements automation.
First, turn on the Live Statements automation
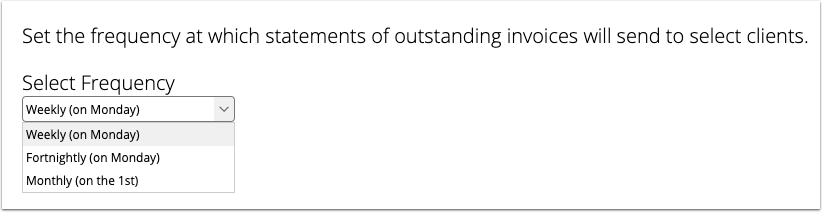
Ensure you’ve activated the Automations Add-on in Settings > ServiceM8 Add-ons. Then go to Settings > Automation, and enable Live Statements.Set the frequency at which you would like statements to be sent
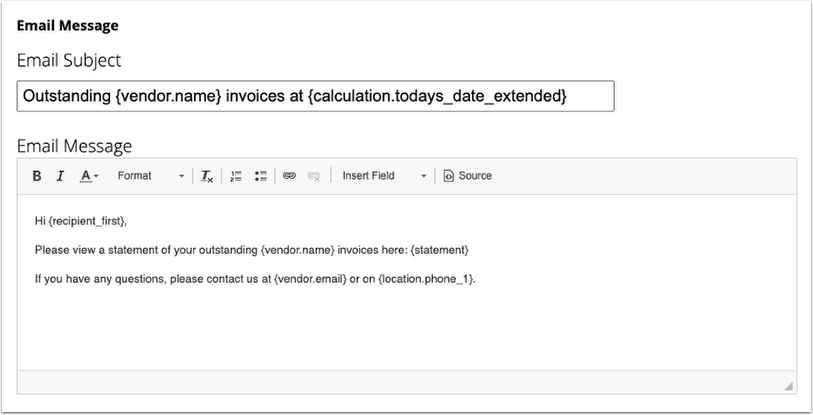
Configure your email template
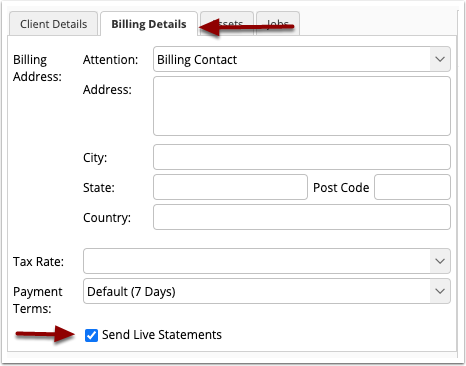
To activate Live Statements for a client, open their Client card. In the Billing Details tab, tick “Send Live Statements”
You can also activate Live Statements for several clients simultaneously, in Clients
Individually or bulk select clients using the check boxes, then click Actions > Apply Live Statements.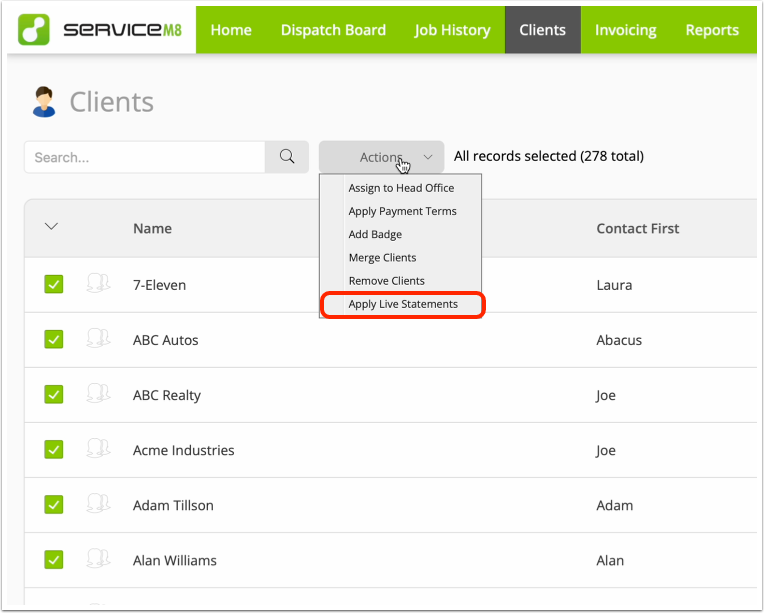
- the job status must be Complete;
- the invoice must be outstanding i.e. unpaid; and
- the invoice must have been sent to the client via email, including the {document} merge field which converts to an online invoice link OR the invoice has been Approved. See here for more info.
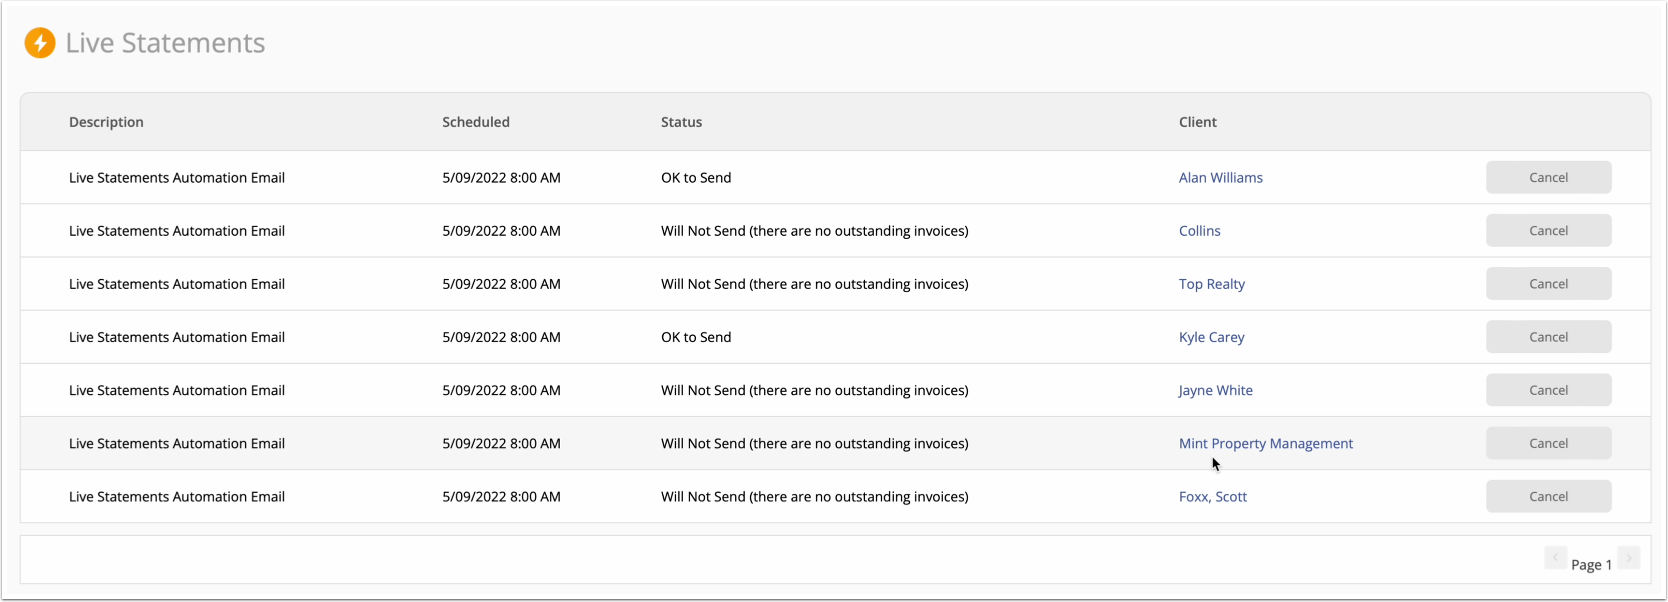
How to see processed & scheduled Live Statement automations
To see which clients have recently been sent their Live Statement, as well as scheduled sends, go to Settings > Automation, and click the linked values in the Scheduled & Processed columns.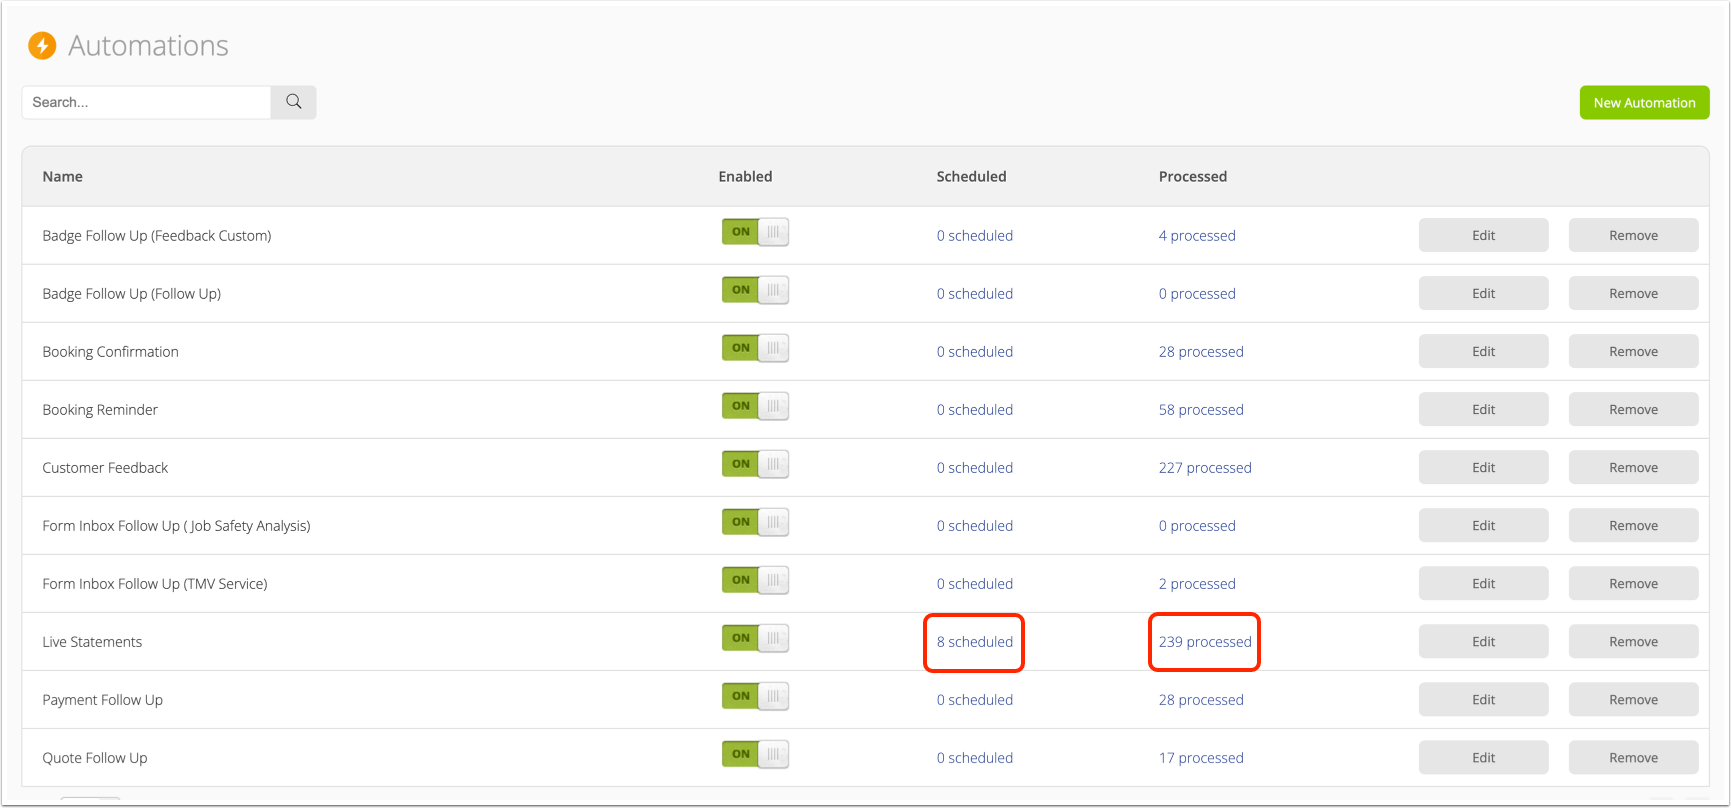
 While Live Statements send automatically to enabled clients, you can also link to their URL Live Statement in manual follow up communication with your clients using the {statement} merge field in your email & SMS templates — see here for more info.