- You can cancel an automation’s scheduled message/s on a “one off” basis, directly from a client’s job card.
- You can review all scheduled messages under an automation together, and cancel message/s on a “one off” basis.
- You can disable an entire automation permanently, if it doesn’t suit your needs.
- You can disable an automation for a specific client, permanently i.e. when an automation is not suitable for a few individual clients, but works well for all others.
To cancel an automated message from the job card:
- Find the job and double-click to open the job card.
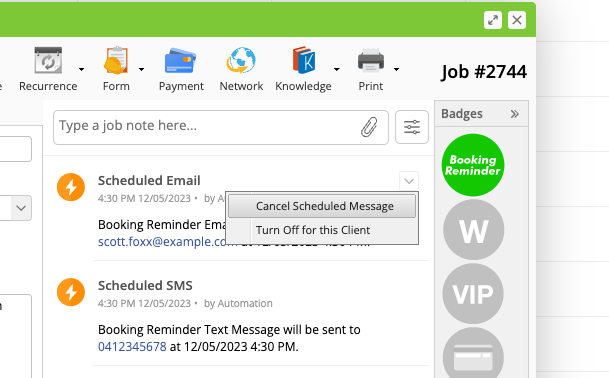
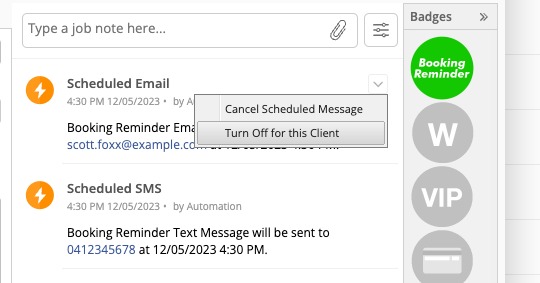
- In the job diary, hover your mouse over the automation so the down arrow appears, then click it.
- Click Cancel Scheduled Message**.**
To cancel an automation in Settings:
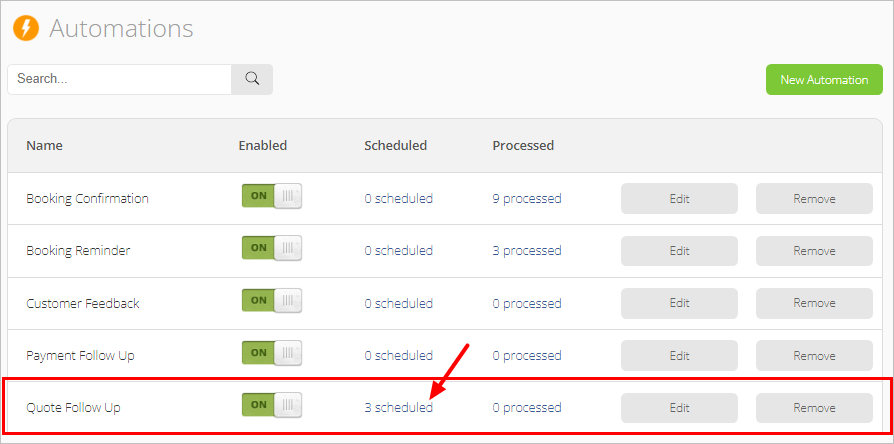
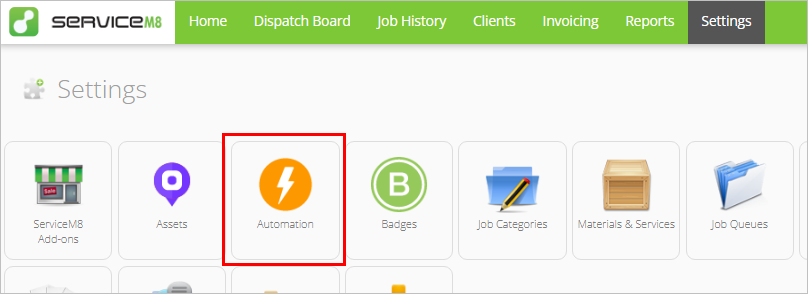
- Go to Settings > Automation.

- Find the automation you want to cancel in the list and click # scheduled. (In the example below, there are 3 scheduled Quote Follow Up automations.)
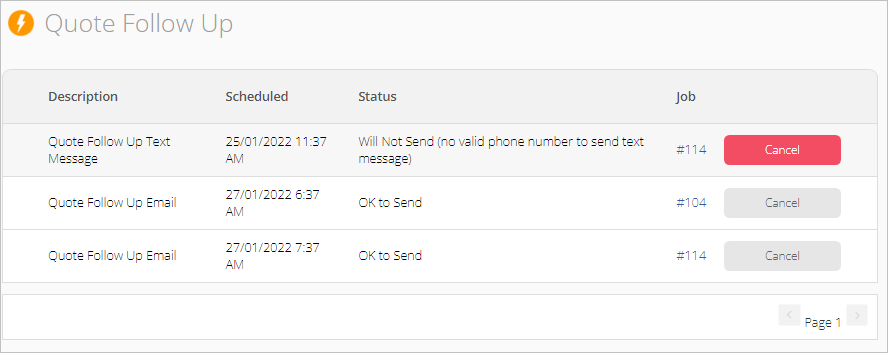
- Click Cancel next to any automations you don’t want to send. (Click the job number to open the job card if needed.)
To disable an automation entirely:
- Go to Settings > Automation.
- Find the automation you want to disable for all clients, and switch it to OFF:

To turn off an automation for a specific client:
- Find a job for the relevant client, and double-click to open the job card.
- In the job diary, hover your mouse over a scheduled message of the specific type of automation you don’t want that client to receive in future, and click the drop-down arrow in the top-right corner.
- Click Turn Off for this Client**.**
 You can re-enable it again for the client at any point in future by finding the disabled automation in a job card for the client, clicking the same drop-down and selecting “Re-enable for this Client”.