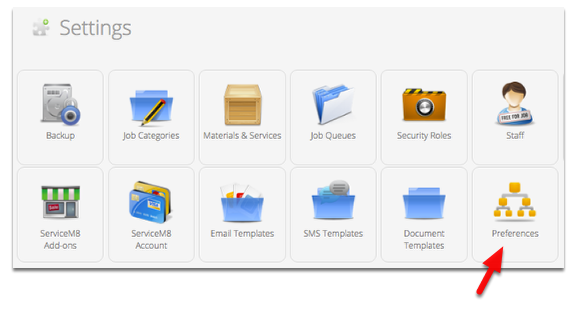
Go to Settings > click Preferences
Go to the Email Settings section
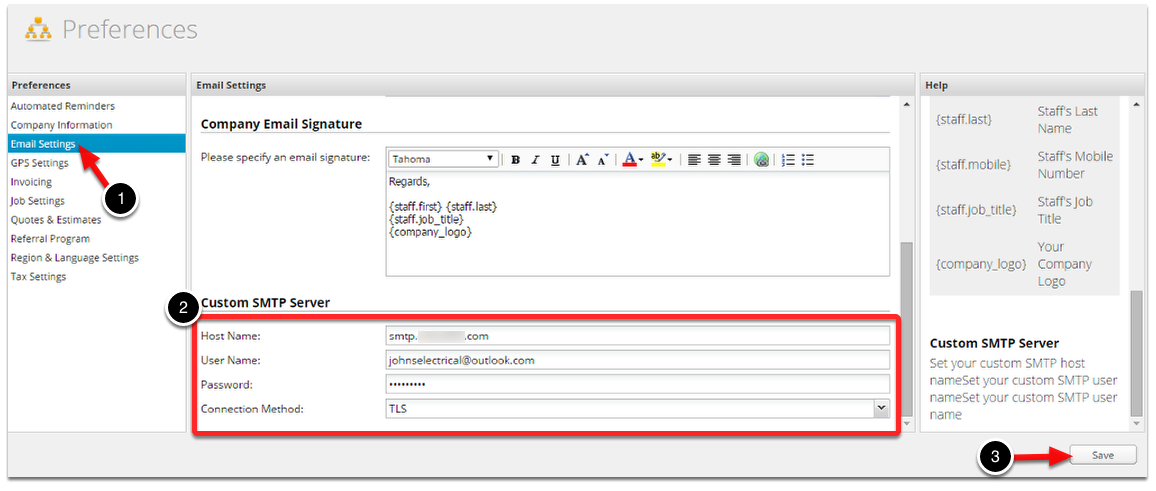 1. Click Email Settings
2. Enter the SMTP Server details. Below are the common email providers and their SMTP information.
1. Click Email Settings
2. Enter the SMTP Server details. Below are the common email providers and their SMTP information.
- Outlook Settings
- Gmail Settings
- BigPond Settings
• If you enter invalid login details in your Custom SMTP Server settings, your email will continue to work but it will be delivered via ServiceM8’s normal email system rather than your SMTP server.