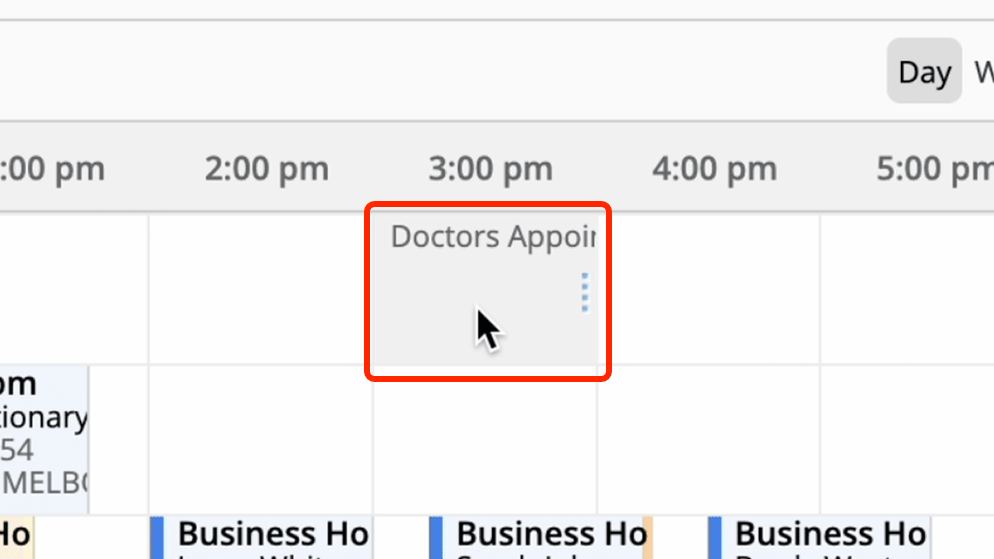
- You can edit leave after it’s added, but cannot move it around on your schedule like a normal job booking — you can only edit leave via the process described here.
- Leave can only be added for one staff member at a time.
- Notes cannot be added to leave entries.
How to add or edit Staff Leave in the Dispatch Board
1. In the Staff Schedules view of the Dispatch Board, simply right-click a staff member in the left-hand pane and click ‘Add Leave’.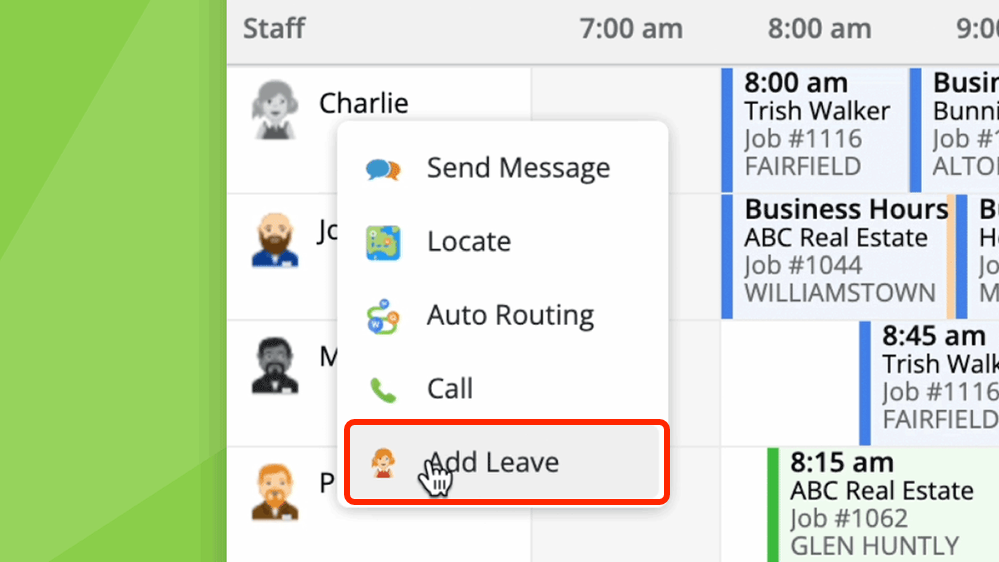 2. To add or edit leave, simply give it a clear name, and describe the time and date you want to block out.
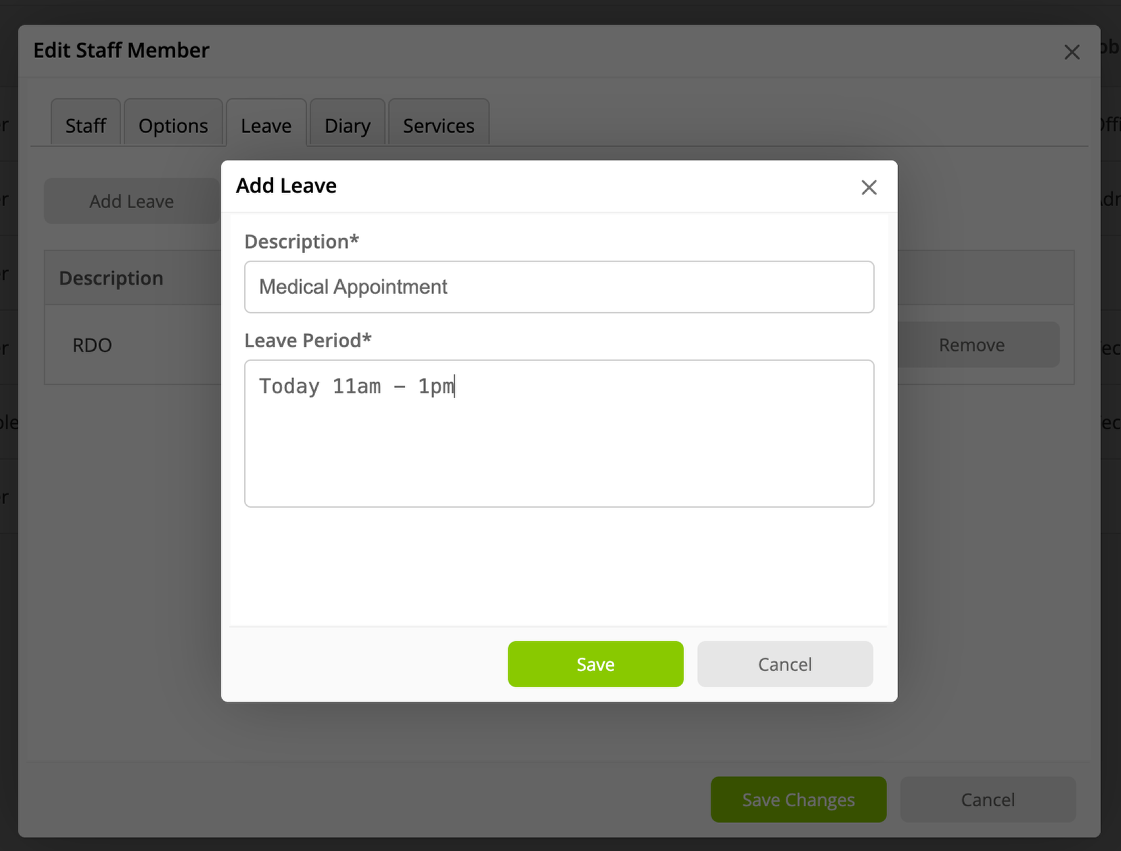
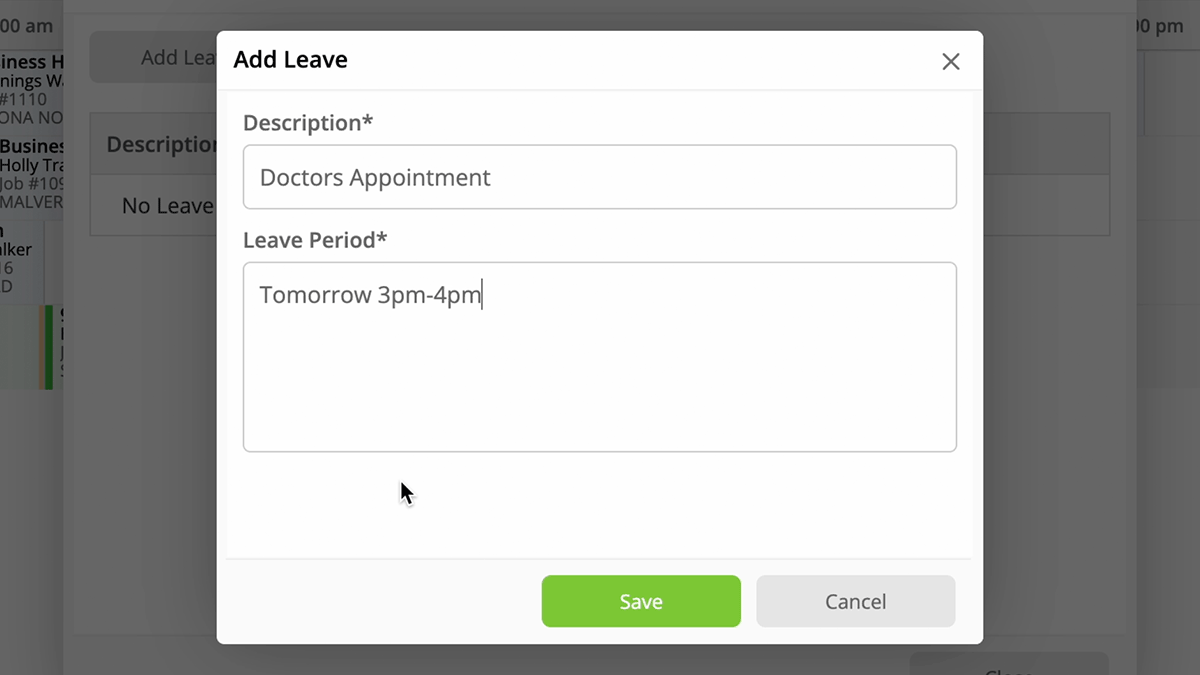
 The new staff leave feature supports various timing patterns to suit your needs. For example:
- Single full day: “Friday 1/08/2025” or “Next Friday” or “September 1st”
- Multiple consecutive days: “Friday 1/08/2025 - Friday 29/08/2025”
- Partial day with specific hours: “Fri 1/08/2025 11:00 AM - 2:00 PM”
- Weekly recurring, ongoing: “Every Thursday and Friday” or “Every second Friday”
- Weekly recurring, until an end date: “Every Friday until 31/12/2025”
- Multiple days recurring, until an end date: “Every Mon, Wed, Fri 11:00 AM - 2:00 PM until 31/12/2025”
- Monthly patterns, ongoing: “First Mon of every month 11:00 AM - 2:00 PM”
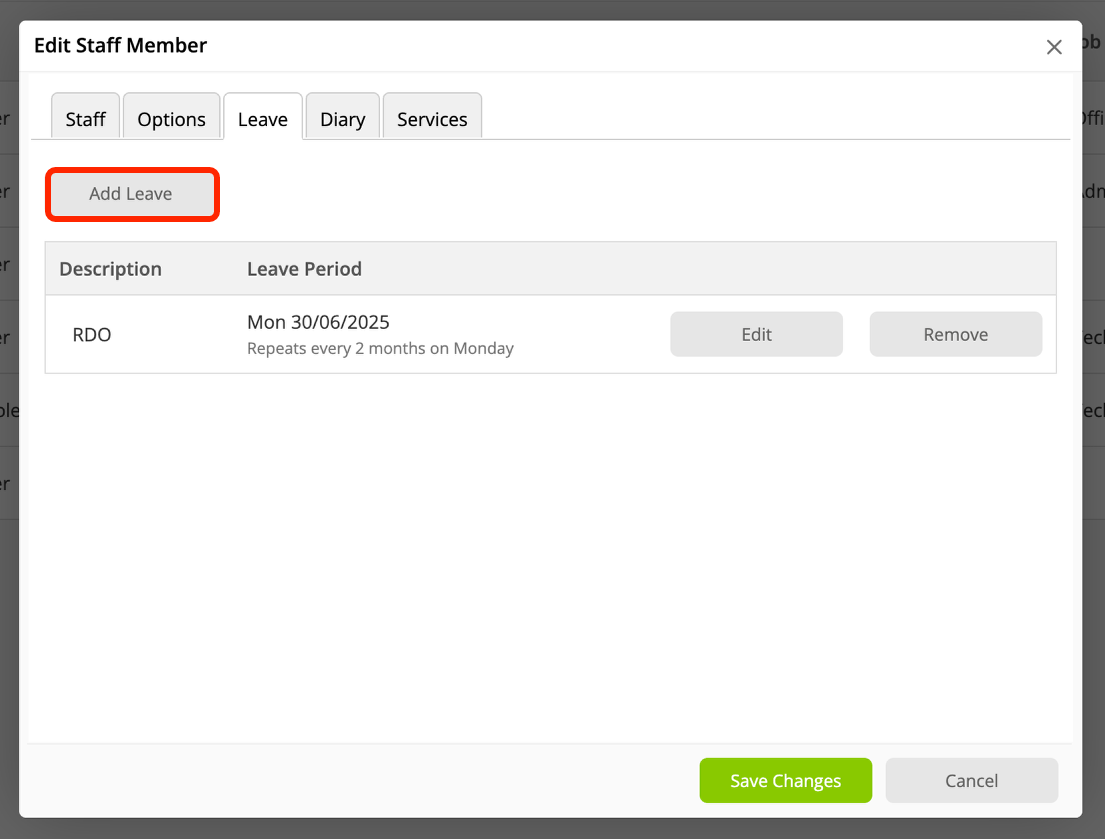
How to add or edit Staff Leave in Settings
1. To add or edit leave in your Settings, go to Account > Settings > Staff > Edit > Leave > Add Leave, and follow the same process as described above.