- Part 1 - Setting up the Form details
- Part 2 - Creating the Form questions
- Part 3 - Previewing the Form
- Using an auto-generated template as a starting point for further customisation
Part 1 - Setting up the Form details
- From the Online Dashboard, go to Account > Settings.
- Click Forms.


- Click Add Form.
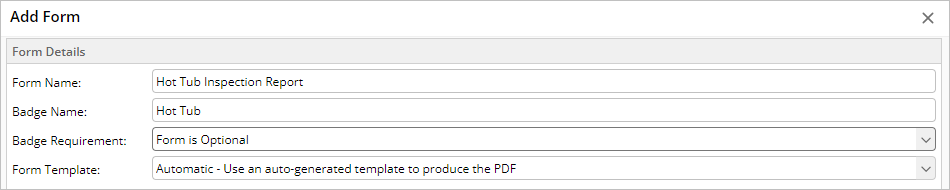
- Complete the Form Details sections as follows:
- Form Name: Enter the name of the form.
- Badge Name: Enter the name of the badge that will be used on a job whenever this form needs to be completed.
- Badge Requirement: Set the form requirement as mandatory or optional.
- Form Template: Select “Automatic - Use an auto-generated template to produce the PDF.”

Part 2 - Creating the Form questions
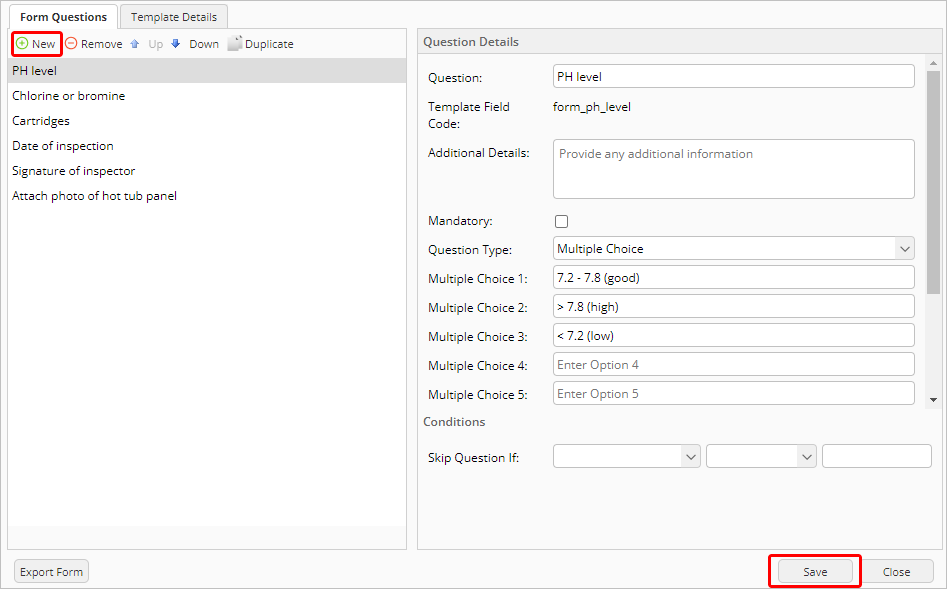
You can now create the questions and elements that need to be completed in the Form.- Under Form Questions, click New.
- Complete the Question Details.
- Question: Enter the name or label for the question.
- Additional Details: If you want to include any explanation or detailed instructions, add them here.
- Mandatory: Tick this box if the question must be completed.
- Question Type: Select the appropriate type from the dropdown.
- Text: use for questions that require short open text responses
- Text (Multi-Line): use for questions that require longer open text responses
- Number: use for questions that require an numeric response only
- Date: use to capture an exact date
- Multiple Choice: use for questions that can only have one true answer (such as Yes or No)
- Multiple Choice (Multi-Answer): use for questions that may have more than one true answer (“Select all that apply”)
- Signature: use to capture a signature in the field
- Photo: use to include a photo requirement
- To add another question, click New.
- Continue until you have added all necessary form requirements, then click Save.

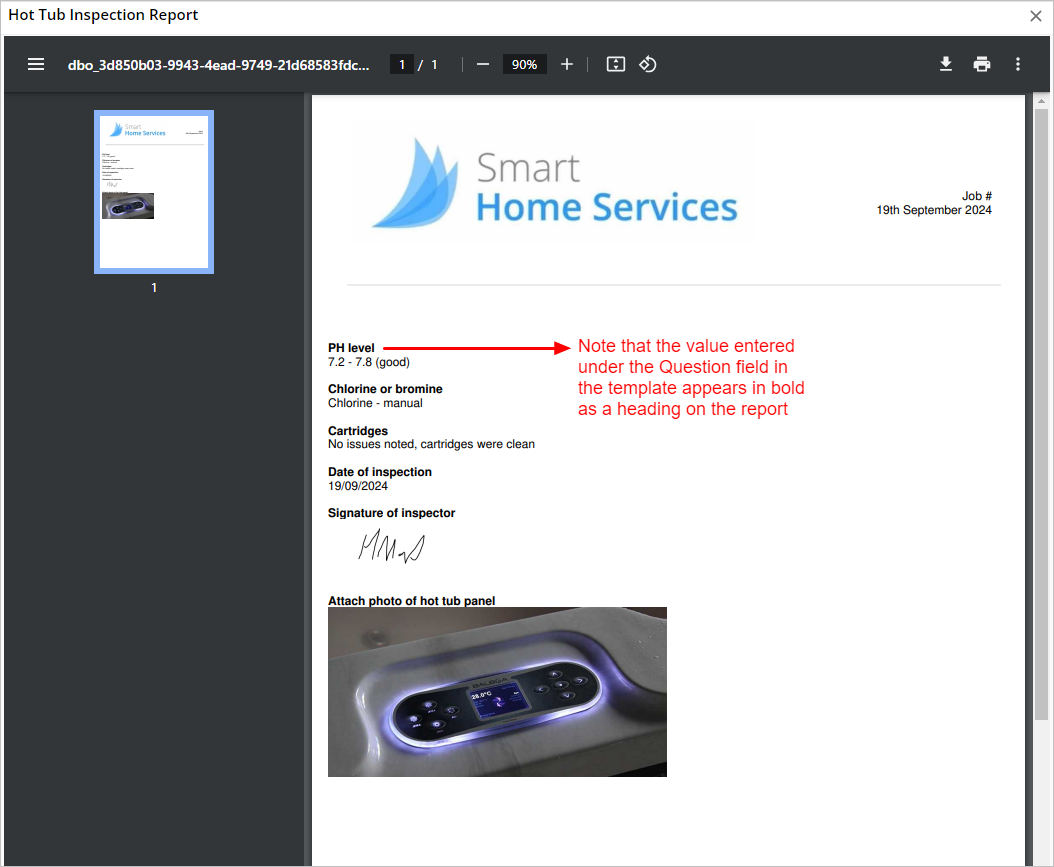
Part 3 - Previewing the Form
- From the Forms page on the Online Dashboard, find your Form and click Preview.
- Complete the Form as though you were filling it out in the field (this is just a demo, don’t worry about your answers) and click Finish.
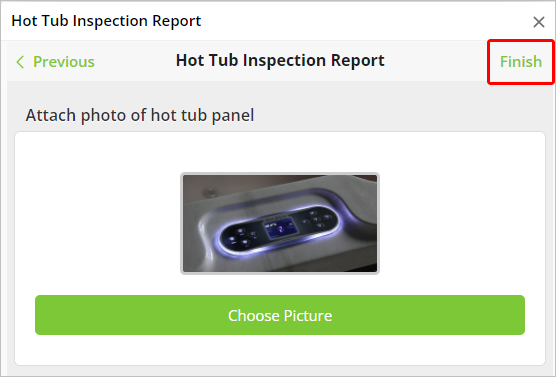

- Click View Form. This will let you see how a completed form will appear when saved as a PDF.

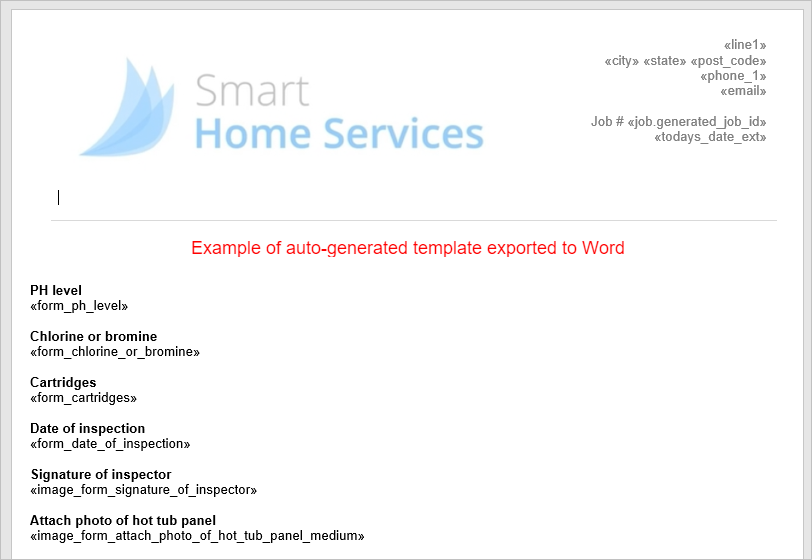
Using an auto-generated template as a starting point for further customisation
For more advanced Form creation, you can create your basic questions with the auto-generated template and then export it as a quick starting point to customise further. From the Forms page, find your auto-generated Form, click Open Form, then click Download Auto Template to generate your template in Word. See How to create Form questions and add the fields into a document template for more information about working with Forms and document templates in Word.