1. The client calls
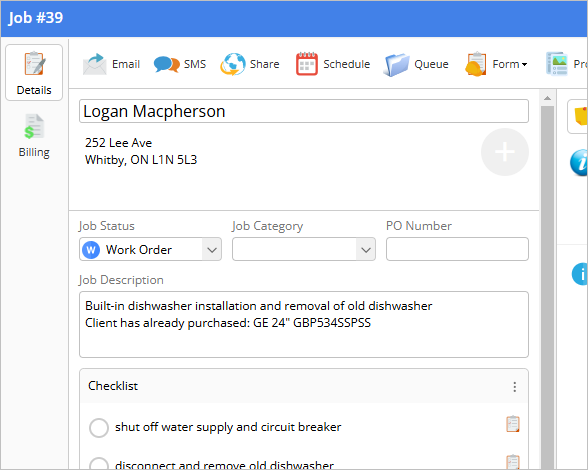
A job begins when a client contacts the business, whether for a quote or to book a service.- The admin team answers the call and creates a new job in ServiceM8.
- They capture client details, a job description, and any relevant notes right in the job card.
- They give the job a Job Status:
- Quote – If a quote needs to be provided and approved before work can begin.
- Work Order – If the job is confirmed and ready to be scheduled.
- If applicable, the admin team can include checklist items on the job card, ensuring that field technicians complete all required tasks once they’re on-site.
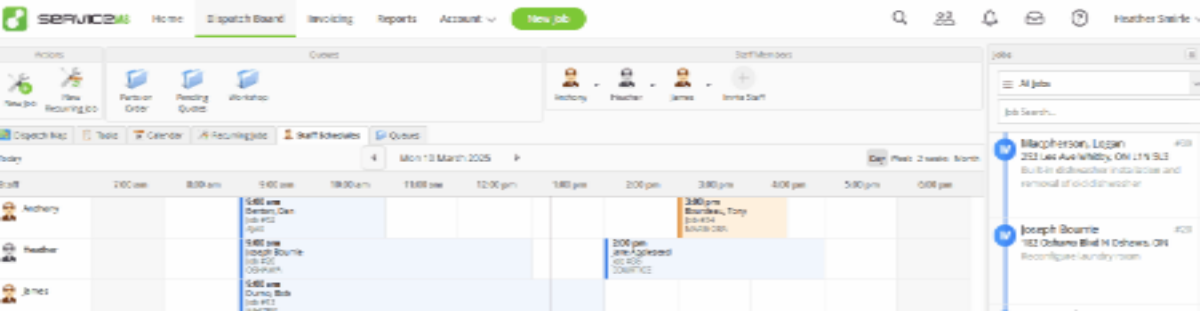
2. Scheduling the job
The admin team schedules the job based on field technician availability and the client’s preferred time, using drag-and-drop scheduling on the Dispatch Board.- The assigned technician receives a notification on their ServiceM8 app (if it’s the same day).
- An appointment reminder message is sent to the client (see ServiceM8’s automated Booking Reminders).
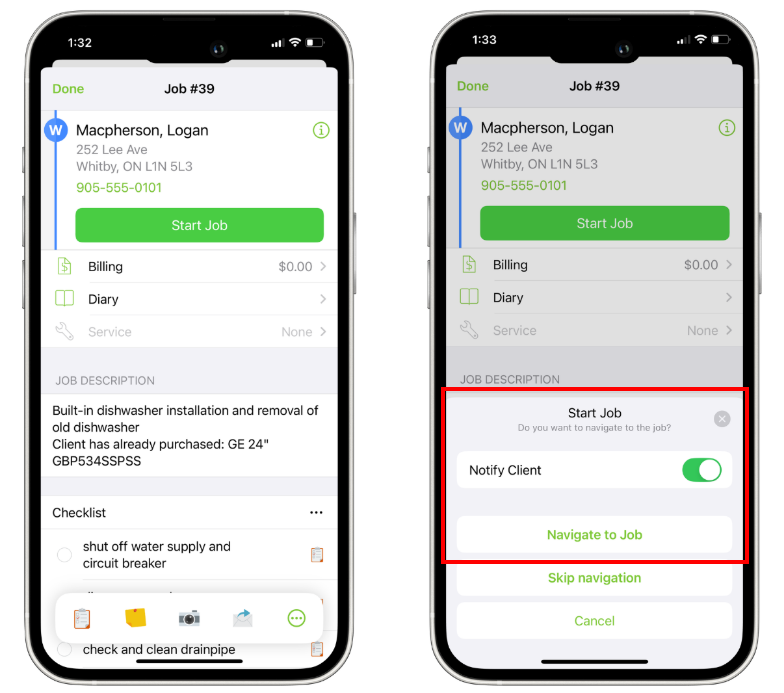
3. Preparing for the job
Before leaving, the technician:- Reviews job details in the app.
- Notifies the client that they’re on the way, with an estimated arrival time.
- Uses integrated navigation to get to the job site efficiently.
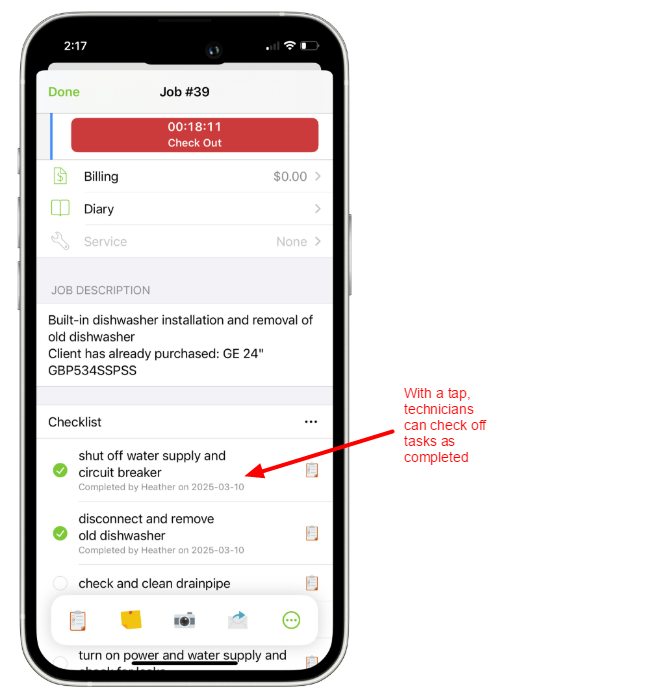
4. Arriving and completing the job
Upon arrival, the technician:- Checks in to the job using the ServiceM8 app. This also starts a timer to track their time on site.
- Reviews any job checklists to ensure all tasks are completed correctly.
- Performs the work, whether it’s an installation, repair, or maintenance task.
- Takes photos before and after the work (for records and proof of completion).
- Adds job notes as needed to the Job Diary for internal documentation and future reference.
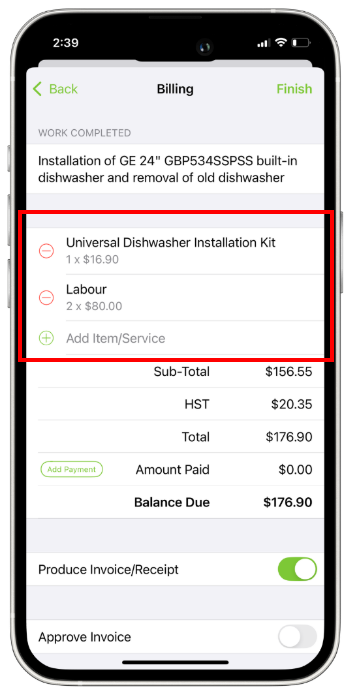
5. Adding billable items and invoicing
While still on-site, the technician:- Adds materials used directly to the job card.
- Checks out of the job, with the option of using the Smart Labour timer feature to track time and bill labour accurately.
- Changes the Job Status to Completed when finished.
- If needed, collects a client signature confirming job satisfaction.
- The technician can generate and send an invoice on-site, and even accept payment; or
- If invoicing is handled by someone else (such as the office team or business owner), check out without producing an invoice. The responsible person can then finalise and send the invoice separately.
6. Invoice review and payment processing
Once a job’s Status is set to Completed, it appears in the Invoicing page. Here, there are three stages to make it easy to manage your invoices:- Awaiting Approval: In this stage, you “Approve” invoices to sync to Xero, QuickBooks Online or MYOB, to streamline your reconciliation and accounting. Once approved, a job’s invoice will move to Awaiting Payment or Paid, depending on its payment status.
- Awaiting Payment: In this stage, you can track approved invoices that are not fully paid yet.
- Paid: In this stage, you can see invoices approved and paid in the last two weeks.
