This lesson will show you how to add materials to a job, create an invoice and then email it to a client.
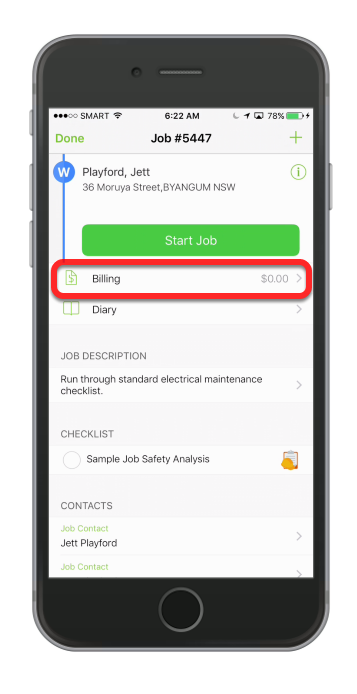
Select a job and tap to open it
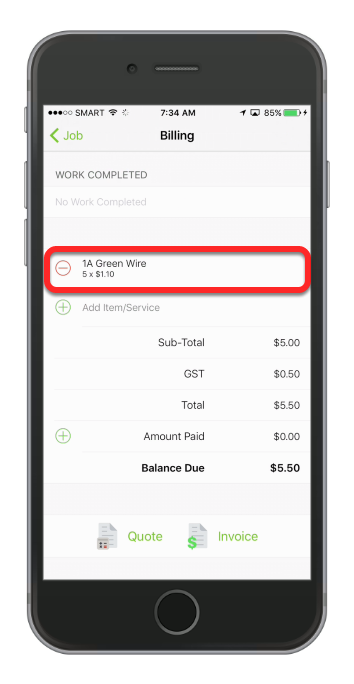
Tap Billing

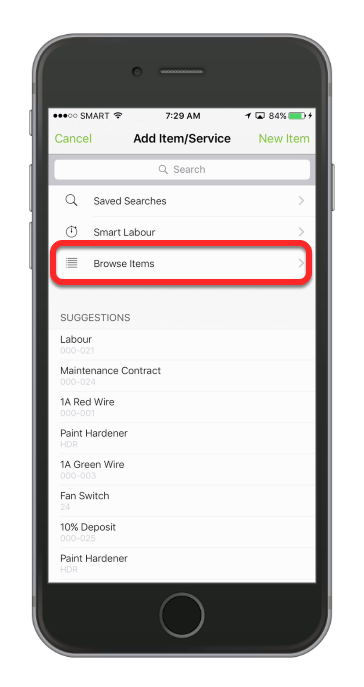
Tap add Item/Service

Tap Browse Items

TIP: You can add an item/services from recent saved searches, suggestion list or browsing the item list.
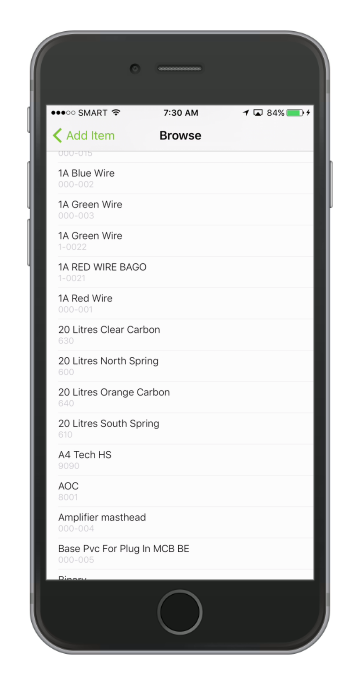
Browse from the list

This is a list of all items in your inventory, you can add an item that you don't have by hitting the Add Item button, we will do this in the next step.
Set the quantity and price, then tap Save

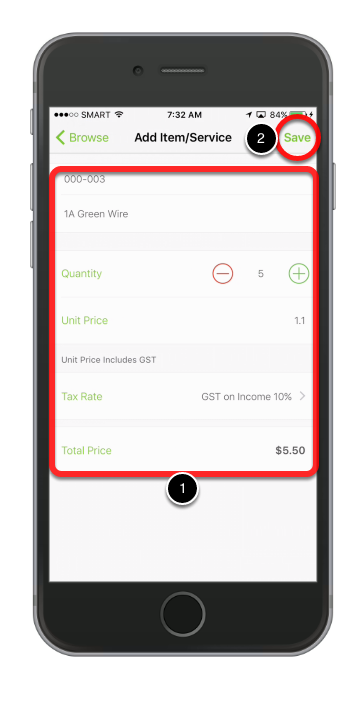
The Item has been added!
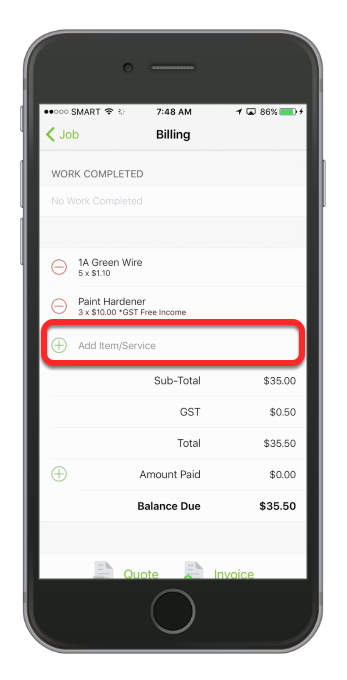
Now we will add an item that we don't have in our inventory. Tap Add Item/Service again.
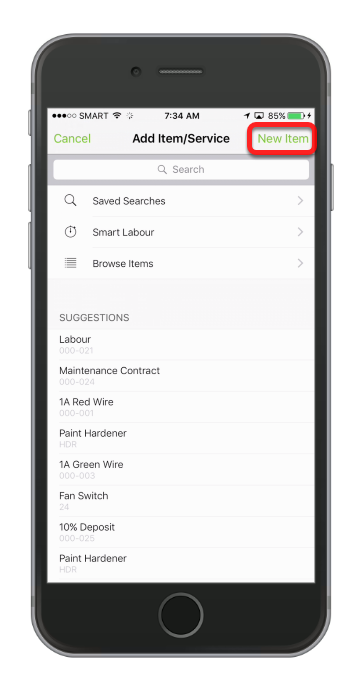
Tap New Item

Fill in the fields and hit Save

The new item has been added, now we will generate an invoice

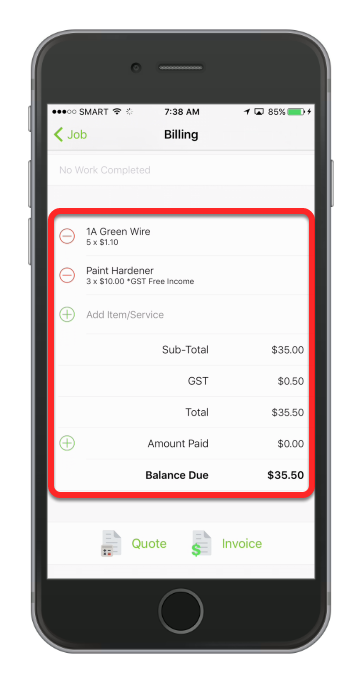
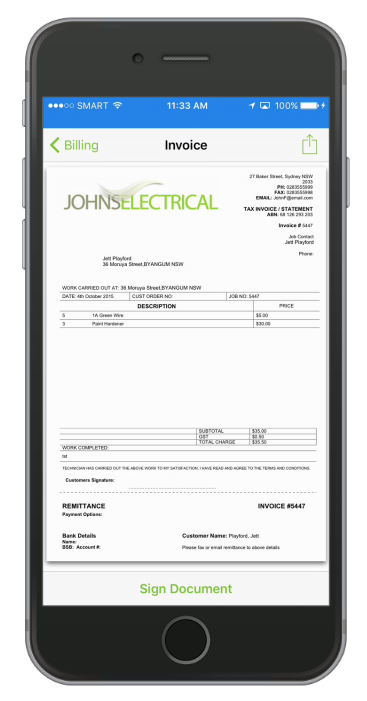
To create an invoice, tap Invoice icon

The invoice will be automatically generated.

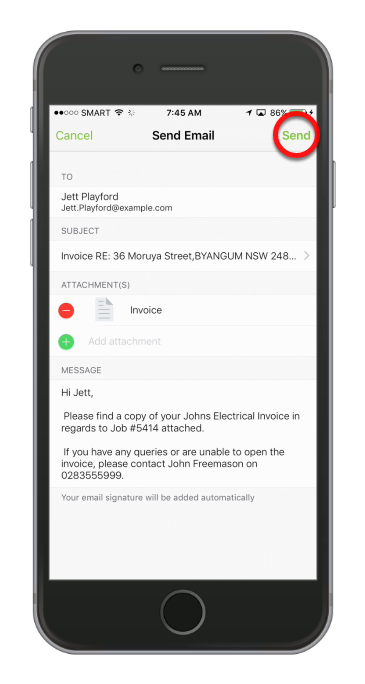
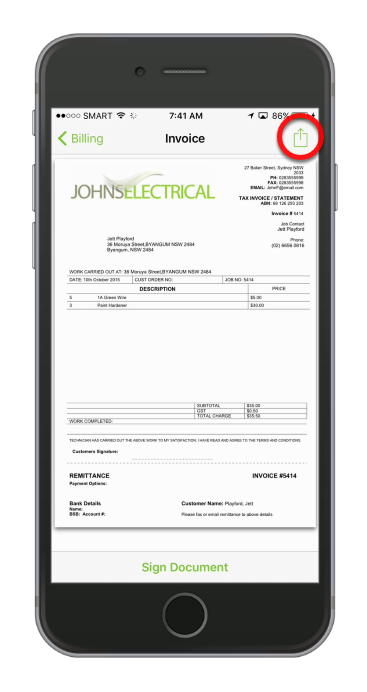
To email the invoice, tap the icon on the upper-right corner of the screen.
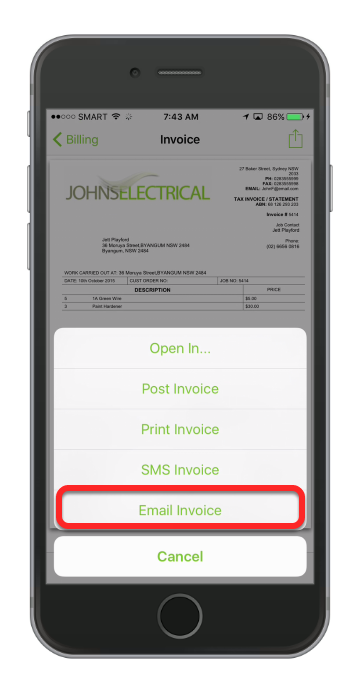
Tap Email Invoice

The customer details are automatically loaded.
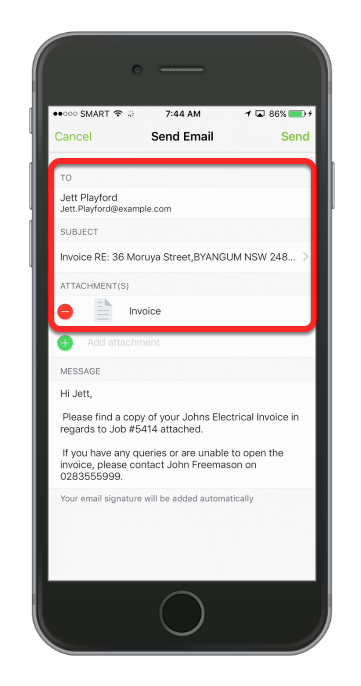
Note: The invoice is automatically attached and an email template is loaded.
Tap Send

Make any changes you require to the email and hit send. Email templates are configured online and you can customise them to suit your business.
That's it! The invoice has been sent via email!
You can review the email in the Diary at any time to see what emails and invoices have been sent to a client.