- How to create a Proposal
- How to use Text sections
- How to use Material sections
- How to make Material sections Multiple Choice, Optional, or Fixed
- How to add Photos, Videos, or File attachments
- How to send a Proposal to a client
- How to make changes to an accepted Proposal
- How to manage live Proposals
- How to customise Proposal theme colours and headers
How to create a Proposal
1. Proposals are created and sent in the Online Dashboard. After activating the Proposals Add-on, go to your Dispatch Board, open a job with a ‘Quote’ status, then click ‘Proposal’ in the job actions menu: 2. You can start a proposal from a blank template, or from a proposal recently sent from another job. Click through the options in the left pane to browse prior proposal templates, and once you’ve decided on your starting point, click Start:
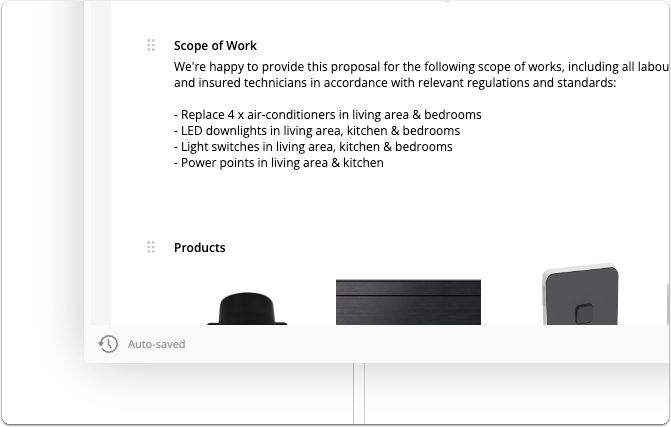
 3. Start building! The Proposal builder works on a “what you see is what you get” basis, so you can see the proposal the way your client will see it, as you build it out:
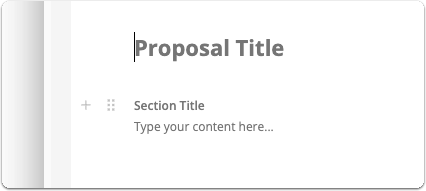
 4. To give your proposal a title, click the title text and start typing:
 8. To undo an action or edit you made by mistake, hold Control + Z (Windows computers) or Command + Z (Mac computers).
9. To maximise the Proposal window to get a full-screen and focused view for building your proposal, click the Maximise button:
8. To undo an action or edit you made by mistake, hold Control + Z (Windows computers) or Command + Z (Mac computers).
9. To maximise the Proposal window to get a full-screen and focused view for building your proposal, click the Maximise button:

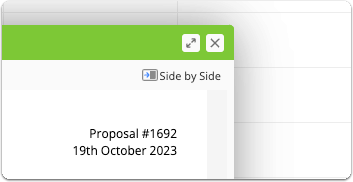
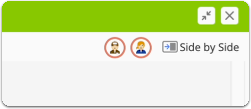
 10. To maximise the job card and Proposal windows together, click the ‘Side-by-side’ button:
 11. Note that new changes and edits are automatically saved as you go. If you’ve drafted some of your proposal and want to come back to it later, you can safely close the window with the top-right cross (x) button. To reopen a proposal, click ‘Proposal’ in the job actions menu, or open it from the job’s Diary:
How to use Text sections
13. Text sections have a title (in bold) and a main body of text. To add a Text section, click the plus (+) button > Text Section. To edit the title or paragraph text, simply click it, and start typing:
 15. You can add as many separate Text sections to your proposal as needed. You can use the plus icon (+) to insert them, or the grab handles to drag them into position.
How to use Material sections
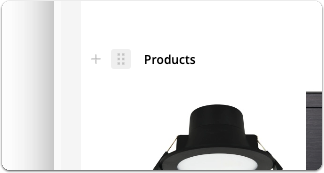
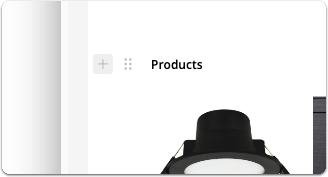
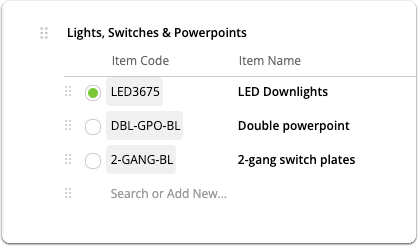
16. To add a Materials section, click the plus (+) button > Materials Section: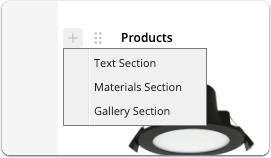
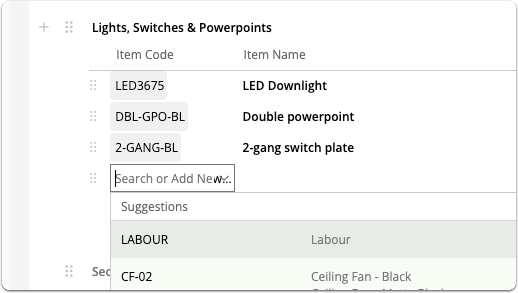
 18. Click ‘Search or Add New’ and start typing to search your items database, or create a new item on the spot, just as you would in a the standard quote builder:
How to make materials/services Multiple Choice, Optional, or Fixed
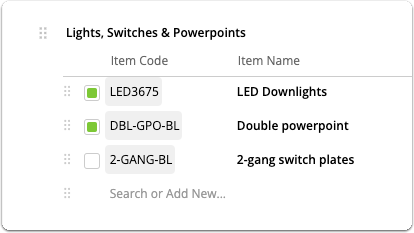
22. Each separate Materials section of your proposal can be set as Fixed, Multiple Choice, or Optional: 23. Fixed. New Materials sections are set to Fixed by default, meaning all line items within the section are included:

How to add Photos, Videos & File attachments
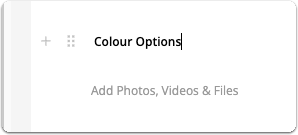
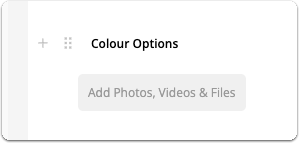
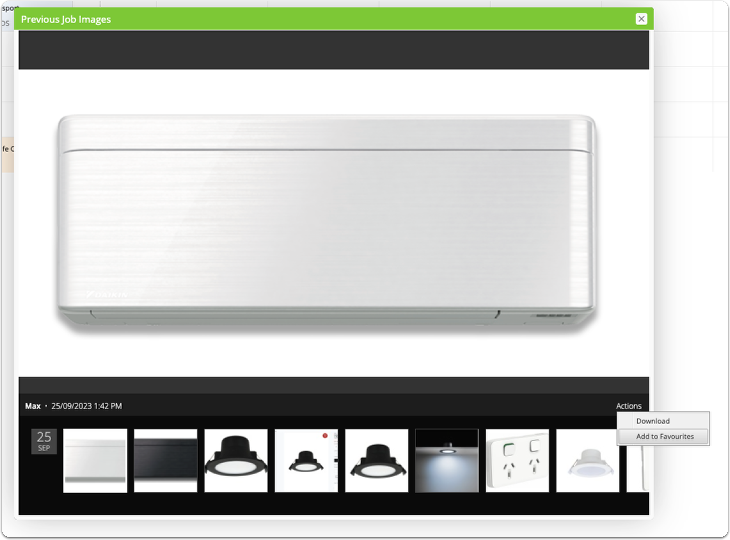
26. To add a Gallery section, click the plus (+) button > Gallery Section:

How to send a Proposal to a client
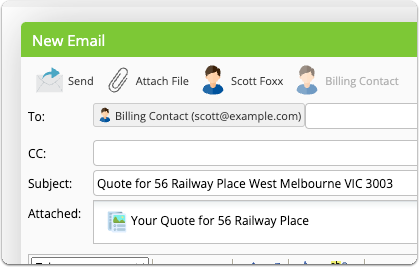
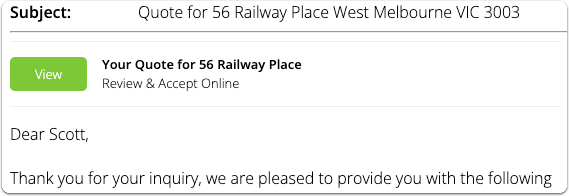
32. Once you’re happy with a proposal, sending it to the client is very similar to the process for sending a standard quote. Simply click Email or SMS in the top-left corner, ensuring your message template includes the special {document} merge field which generates the unique link for the client to view their proposal online: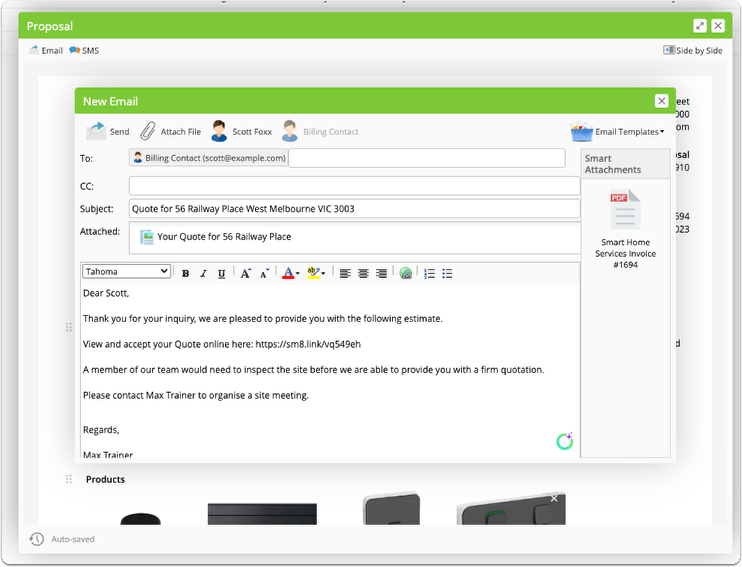

How to make changes to an accepted Proposal
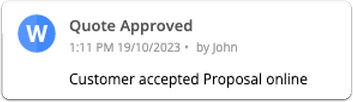
If a client accepts your proposal, then reconsiders and wants to make changes, it’s straightforward to revert the proposal. Simply change the job’s status back to Quote, update your proposal as required, and send the proposal to the client again via email and/or SMS.How to manage live Proposals
Proposals are “live” and visible to clients as soon as you send it to them via email and/or SMS. Any changes you make to an unaccepted proposal after it’s been sent, will update the client’s view of the proposal. So, if the client requests some changes, you can simply make the required changes in ServiceM8, which will update the client’s online proposal straight away (they may need to reopen or refresh the page) i.e. you don’t need to resend a proposal after making changes.How to tell if a customer has seen your Proposal
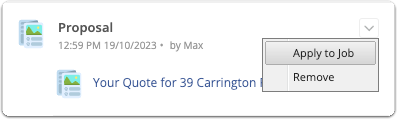
Once you’ve sent a Proposal to a client, you can see in the Diary event if they have clicked the Proposal link to view it, how many times they’ve viewed it, and when they viewed it last: If a customer has not clicked the link to view your Proposal within 24 hours of you sending it, the staff member who sent the Proposal will receive a notification stating that the Proposal hasn’t been viewed, so you can follow up with the client accordingly:

How to customise Proposal theme colours and headers
To better align with your branding, you can change the theme colour used in your Proposals. You can also select from different heading layouts to find the one that best suits your business, and adjust your company details. To do so:- From the Online Dashboard, go to Account > Settings.
- Click Document Templates.

- In the Templates pane, click Proposal.
- Click the arrow on the side of the Proposal pane to scroll through available heading formats.
- Click the box next to Theme Colour: to select a new theme colour. Enter your desired RGB values or use the slider to find a colour you like.
- TIP: If you want a colour that is complementary to your brand, use the eyedropper tool on your logo displayed on the Proposal template.

- Add, remove, or rearrange fields in Company Details to display your company information as you’d like in the space provided on the header. See Available fields for invoice and quote templates for the most updated list of fields. The following are commonly used:
- {vendor.name} - your business name
- {vendor.email} - your business email
- {vendor.website} - your business website
- {location.address} - your business address
- {location.phone_1} - your business phone
- {business_number_name}: {vendor.business_number} - Business Number: your business number
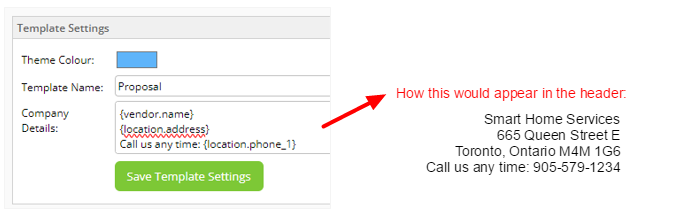
- When you are satisfied with your template, click Save Template Settings.
- TIP: if you have any trouble saving your template settings, ensure you have created at least one template first — learn how to create a Proposal template.